
Feb . 13, 2025 18:14
Back to list
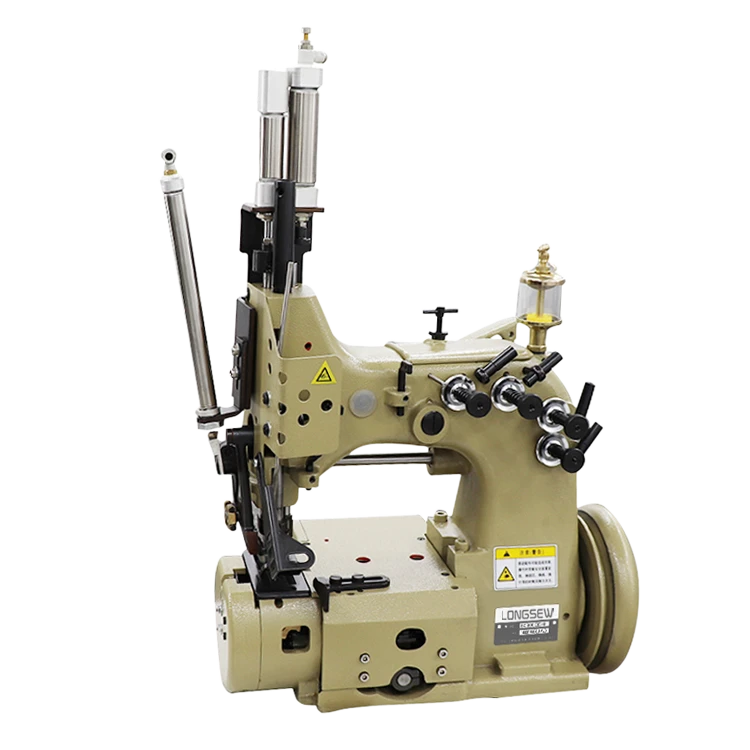
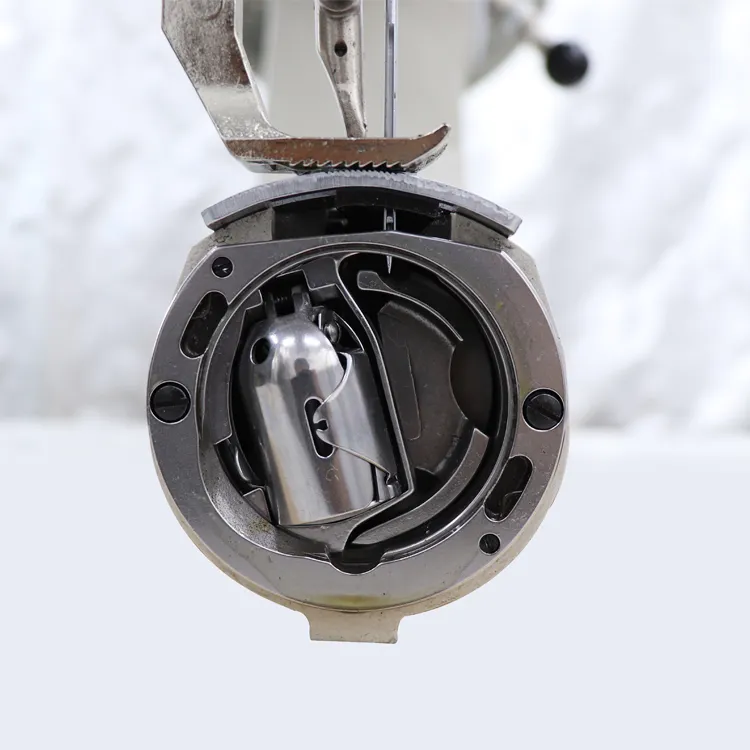
FIBC Bag / Jumbo Bag / Bulk Bag Single Needle Lock Stitch Top & Bottom Feeding Sewing Machine GSC367 /GSC367TD /GSC367TDZ/ GSC367-L
Sewing leather on a domestic machine is a skill that, while challenging, opens up a world of creative possibilities. Many people shy away from this daunting task due to concerns about the limitations of their domestic sewing machines. However, with the right guidance, tools, and techniques, sewing leather at home can be a rewarding experience.
Maintaining Machine Health Leather can be heavy on a sewing machine, and regular maintenance is essential. After completing a project, clean out lint and leather debris from your machine to keep it running smoothly. Regularly oiling your machine, as per the manufacturer’s instructions, can enhance its longevity and performance. Choosing the Right Projects Beginners should start with simple projects such as small bags, wallets, or keychains. These projects are less demanding and provide a good feel for working with leather without the added pressure of large seams or intricate patterns. As you gain confidence and experience, you can progress to more complex patterns. Accessing Resources and Communities Aside from personal experience and learning, leveraging online resources can expand your knowledge. Numerous tutorials and workshops available online can provide deeper insights. Engaging with communities of leather sewing enthusiasts can also be immensely beneficial. Platforms such as forums or social media groups offer support and share valuable tips that only come with experience. Conclusion Sewing leather on a domestic machine is not only feasible but can also be incredibly satisfying with the right approach. By understanding your machine, using appropriate tools and techniques, caring for your equipment, and starting with manageable projects, anyone can master the art of leather sewing at home. With patience and practice, you can produce professional-grade leather items from the comfort of your home, adding a touch of personalized elegance to your creations. The skeptics might say it’s not possible, but with this roadmap, you’ll be proving them wrong in no time.
Maintaining Machine Health Leather can be heavy on a sewing machine, and regular maintenance is essential. After completing a project, clean out lint and leather debris from your machine to keep it running smoothly. Regularly oiling your machine, as per the manufacturer’s instructions, can enhance its longevity and performance. Choosing the Right Projects Beginners should start with simple projects such as small bags, wallets, or keychains. These projects are less demanding and provide a good feel for working with leather without the added pressure of large seams or intricate patterns. As you gain confidence and experience, you can progress to more complex patterns. Accessing Resources and Communities Aside from personal experience and learning, leveraging online resources can expand your knowledge. Numerous tutorials and workshops available online can provide deeper insights. Engaging with communities of leather sewing enthusiasts can also be immensely beneficial. Platforms such as forums or social media groups offer support and share valuable tips that only come with experience. Conclusion Sewing leather on a domestic machine is not only feasible but can also be incredibly satisfying with the right approach. By understanding your machine, using appropriate tools and techniques, caring for your equipment, and starting with manageable projects, anyone can master the art of leather sewing at home. With patience and practice, you can produce professional-grade leather items from the comfort of your home, adding a touch of personalized elegance to your creations. The skeptics might say it’s not possible, but with this roadmap, you’ll be proving them wrong in no time.
Latest news
-
Industrial Bag Sewing Machine Price and Comprehensive Buying GuideNewsApr.16,2026
-
Industrial Hand Held Bag Closer for Efficient Packaging SealingNewsApr.16,2026
-
Industrial Hand Held Bag Closer Sewing Machine for PackagingNewsApr.16,2026
-
Efficient Industrial Bag Closer Sewing Machine for PackagingNewsApr.16,2026
-
Industrial Sewing Guide for Choosing the Right Closer MachineNewsApr.16,2026
-
Guide to Capital Bag Closer Machine Price and Buying FactorsNewsApr.16,2026
-
Say goodbye to inefficient cutting! This heavy-duty webbing hot cutting machine redefines the new standard for industrial cuttingNewsApr.14,2026

Hebei LongSew Machinery Technology Co. Ltd is beginning as sewing machine parts supplier, now Longsew have over twenty years experience in complete set sewing machine offering.


CLASSIFICATION
CONTACT US
-

No.368 North Youyi Street, Shijiazhuang City, Hebei Province, China
-

-

Copyright © 2026 HEBEI LONGSEW MACHINERY TECHNOLOGY CO. LTD All Rights Reserved. Sitemap | Privacy Policy | Top Blog | Global Service | Hot Products