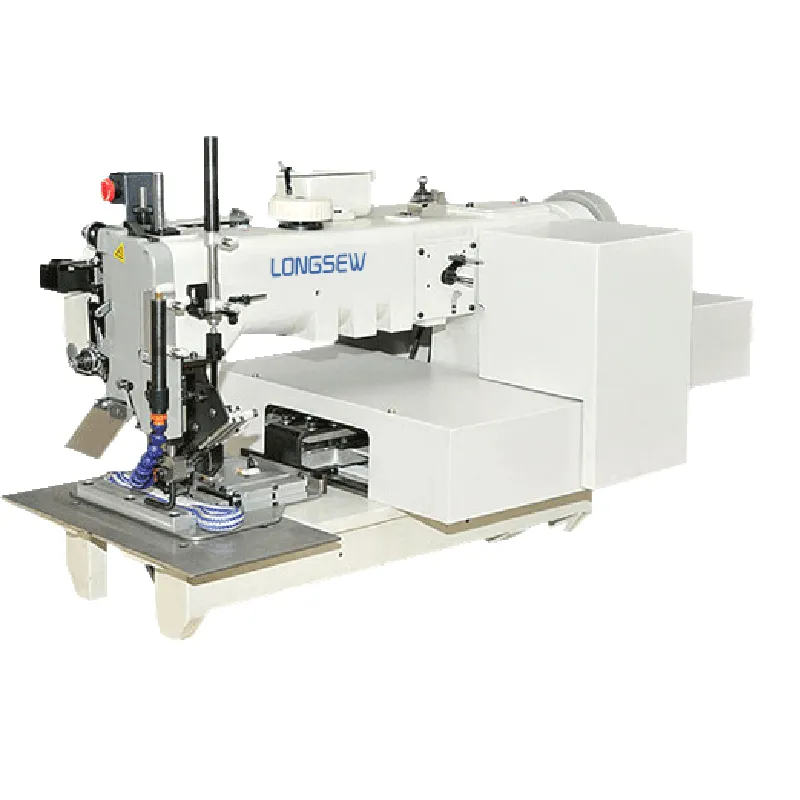
Mastering the Art of Single Needle Leather Stitching Techniques for Craftsmanship
Mastering the Art of Single Needle Leather Stitching
In the world of leathercraft, few techniques capture the artistry and precision akin to single needle leather stitching. This timeless method has been employed for centuries, underpinning the creation of high-quality leather goods that blend functionality with elegance. Whether it’s creating wallets, belts, bags, or even intricate leather garments, mastering the single needle stitch can elevate the quality of your work dramatically.
Single needle stitching, also known as hand stitching, involves using a single thread and needle to sew pieces of leather together. This technique not only provides a strong and durable seam but also creates a unique aesthetic that embodies craftsmanship. Unlike machine stitching, which can sometimes look uniform and sterile, hand stitching offers a personal touch, showcasing the maker’s skill and attention to detail.
To get started with single needle leather stitching, you will need a few essential tools. A good quality stitching needle specifically designed for leather is crucial. These needles are thicker and designed to pierce through tough leather fibers, often featuring a slight curve to help guide the thread. Next, you will require a waxed thread, which provides additional strength and durability. The wax coating helps the thread glide through the leather and prevents fraying.
In addition to these primary tools, having an awl is vital for marking and creating holes in the leather. Using an awl allows for precise hole placement, which is essential for consistent stitching. A stitch marker or chisels can also be beneficial for ensuring evenly spaced holes. Lastly, a cutting mat or a sturdy work surface is important to protect your tools and prevent damage to your work area.
The Stitching Process
1. Preparation Start by preparing your leather pieces. Cut the leather to the desired shapes and edges. If you want a polished look, consider burnishing the edges.
2. Marking Holes Use your awl to mark where you will stitch. Generally, you should create holes spaced about 4 to 6 millimeters apart.
single needle leather stitching

3. Punching Holes With an appropriately sized digging tool or stitching chisel, create holes in the leather. Remember, the holes should be straight, as they'll guide the needle and thread.
4. Threading the Needle Cut a length of waxed thread, typically three times the length of the area being stitched. Thread one end through the needle and tie a knot at the end.
5. Stitching Begin the stitching process by inserting the needle from the underside of the leather to hide the knot. Pull it through and then insert the needle back into the next hole (the one closest to the starting point) from the top side.
As you pull the thread, make sure to maintain tension but avoid over-tightening, as this can distort the leather. Repeat this process, alternating sides with each stitch. The beauty of single needle stitching lies in its simplicity and the ability to adjust as you go, allowing for corrections and fine-tuning.
6. Finishing Up Once you reach the end, secure your stitches with a knot, ensuring it is tucked away for a clean finish.
The real beauty of single needle leather stitching is not only its strength but also its variation. By learning different stitching patterns, such as the saddle stitch or backstitch, artisans can add unique elements to their designs. These various techniques can also showcase the quality and craftsmanship of the leather, making every piece a work of art.
In conclusion, single needle leather stitching is more than just a method; it’s a craft that requires practice and patience. By mastering this technique, artisans can create durable and visually stunning leather goods that stand the test of time. With the right tools and a commitment to learning, anyone can begin their journey into the rewarding world of leather stitching. So gather your materials, roll up your sleeves, and get ready to bring your leather creations to life!
-
Boost Production Efficiency with a Pattern Sewing MachineNewsAug.29,2025
-
Industrial Excellence with the Best Heavy Duty Sewing MachineNewsAug.29,2025
-
Precision and Power with the Best Pattern Sewing MachineNewsAug.29,2025
-
Reliable Bulk Packaging Starts With the Right FIBC Sewing MachineNewsAug.29,2025
-
Advanced Packaging Solutions: Elevate Productivity with Jumbo Bag Sewing Machine and Industrial Stitching EquipmentNewsAug.29,2025
-
High-Performance Solutions for Bulk Packaging: FIBC Sewing Machine and MoreNewsAug.29,2025
-
Maximize Efficiency with an Industrial Cylinder Arm Sewing MachineNewsAug.28,2025


