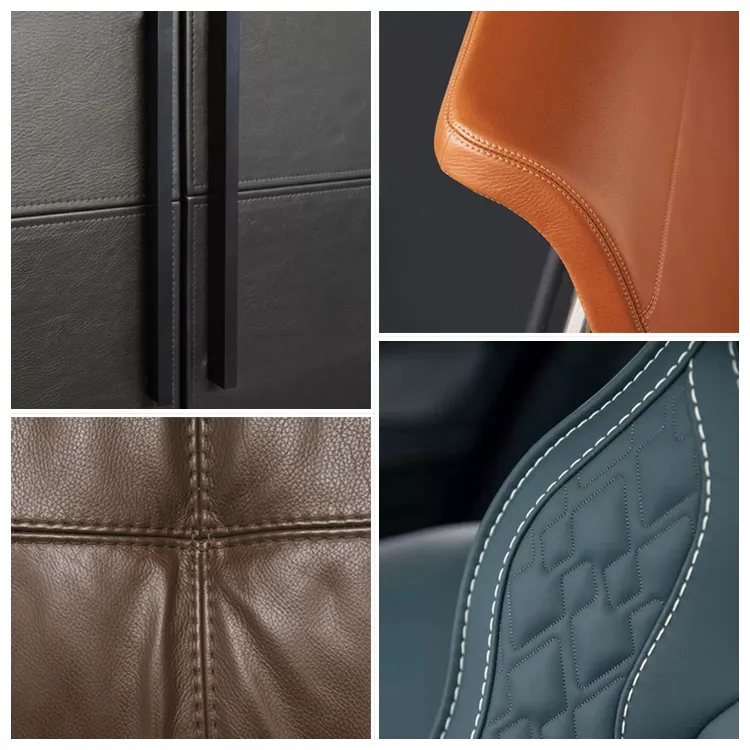
A Beginner's Guide to Sewing with Leather for Craft Enthusiasts
Leather Sewing for Beginners A Comprehensive Guide
Leatherwork is a rewarding and creative hobby that can yield beautiful and functional items. For beginners, sewing leather can seem intimidating due to its unique properties and the tools required. However, with the right guidance and some practice, anyone can master the basics of leather sewing. This article serves as a comprehensive guide to get you started on your leather sewing journey.
Understanding Leather Types
Before diving into sewing, it’s essential to understand the different types of leather available. Leather can be categorized into various grades, including full-grain, top-grain, corrected-grain, and bonded leather.
- Full-grain leather is the highest quality and is made from the entire hide. It’s strong, durable, and develops a beautiful patina over time. - Top-grain leather is slightly altered, with the top layer sanded. It’s still high quality but not as robust as full grain. - Corrected-grain leather has been treated to remove imperfections, leading to a more uniform appearance. - Bonded leather is made from leftover scraps, bonded together and typically offers a lower quality.
For beginners, full-grain or top-grain leather is recommended due to their durability and ease of handling
.Essential Tools and Materials
To begin your leather sewing project, you will need a few essential tools
leather sewing for beginners

1. Leather Choose a small piece for your first project, such as a wallet or a keychain. 2. Cutting tools A rotary cutter or a sharp utility knife will help you cut clean edges. 3. Ruler and straightedge These are necessary for measuring and cutting straight lines. 4. Leather hole punch This tool creates clean holes for stitching. 5. Needles Use leather needles, which are designed with a wedge point to pierce through tough material. 6. Thread Opt for waxed nylon thread, which is strong and easy to work with. 7. Awl A pointed tool that helps mark and create holes for sewing. 8. Marble stone or cutting mat Protects your work surface while cutting.
Basic Techniques
Now that you have your materials, let’s explore some fundamental techniques in leather sewing
1. Cutting Measure and mark your leather before cutting. Using a straightedge, make clean cuts to ensure your projects fit together well. 2. Punching Holes Use your leather hole punch to create holes for stitching. Space the holes evenly, typically about 1/8 inch apart, for a uniform look. 3. Threading the Needle Cut a length of thread about four times the distance you need to sew. This will ensure you have enough for both sides of your seam. Thread the needle and tie a knot at the end. 4. Sewing Techniques The most common stitch for beginners is the saddle stitch. It involves using two needles, one on each end of the thread, sewing through the same hole from opposite sides to create a strong and durable seam.
5. Finish Your Edges After sewing, finish the edges using sandpaper or an edge beveler to smooth the rough cuts. You can also apply edge burnishing with a tool or a piece of cloth to create a polished look.
Conclusion
Leather sewing for beginners can seem challenging at first, but with patience and practice, you can develop your skills and confidence. Start with simple projects, gradually advancing to more complex designs as you learn. Remember to take your time, enjoy the process, and don't be afraid to make mistakes—they're an essential part of the learning experience. Happy sewing, and soon enough, you’ll have beautiful leather creations to call your own!
-
Heavy Duty Leather Sewing Machine: A Must-Have for Professional LeatherworkNewsMay.28,2025
-
Leather Sewing Machine: Essential for High-Quality LeathercraftNewsMay.28,2025
-
Extra Heavy Duty Sewing Machine for Premium Leather ApplicationsNewsMay.28,2025
-
Walking Foot Cylinder Arm Sewing Machine: Precision and Power CombinedNewsMay.28,2025
-
Industrial Cylinder Arm Sewing Machine: Engineered for High-Performance StitchingNewsMay.28,2025
-
Cylinder Bed Sewing Machine: A Powerful Solution for Precision StitchingNewsMay.28,2025
-
Zigzag Sewing MachineNewsMay.12,2025


