Techniques for Sewing Binding Belts for a Polished Finish
The Art of Binding Belt Sewing A Comprehensive Guide
Binding belt sewing is an essential skill in the world of garment construction, providing a neat and professional finish to the edges of belts, bags, and various fabric projects
. This technique not only enhances the overall aesthetic of the item but also contributes to its durability and functionality. In this article, we will explore the principles of binding belt sewing, the materials required, and step-by-step instructions to master this technique.Understanding Binding Belts
A binding belt refers to a strip of fabric that is sewn along the raw edges of another piece of fabric to enclose them, preventing fraying and providing a polished look. This technique is widely used in various sewing projects, from functional belts to decorative applications on clothing and accessories. The binding can be made from the same fabric as the main piece or from a contrasting material to create visual interest.
Materials Needed
To begin sewing binding belts, you'll need several materials
1. Fabric Choose fabric that complements your main project. Cotton, canvas, or polyester are popular choices due to their durability. 2. Bias Tape or Binding Material This can be pre-purchased or homemade by cutting fabric on the bias (diagonally against the grain) to create a flexible binding. 3. Sewing Machine A reliable machine equipped with a straight stitch or zigzag stitch can help achieve clean lines. 4. Pins or Clips These are essential for holding the fabric in place while sewing. 5. Iron Pressing is crucial for crisp edges and professional finishes. 6. Cutting Mat and Rotary Cutter For precise cutting, especially when making your own binding strips.
Step-by-Step Instructions
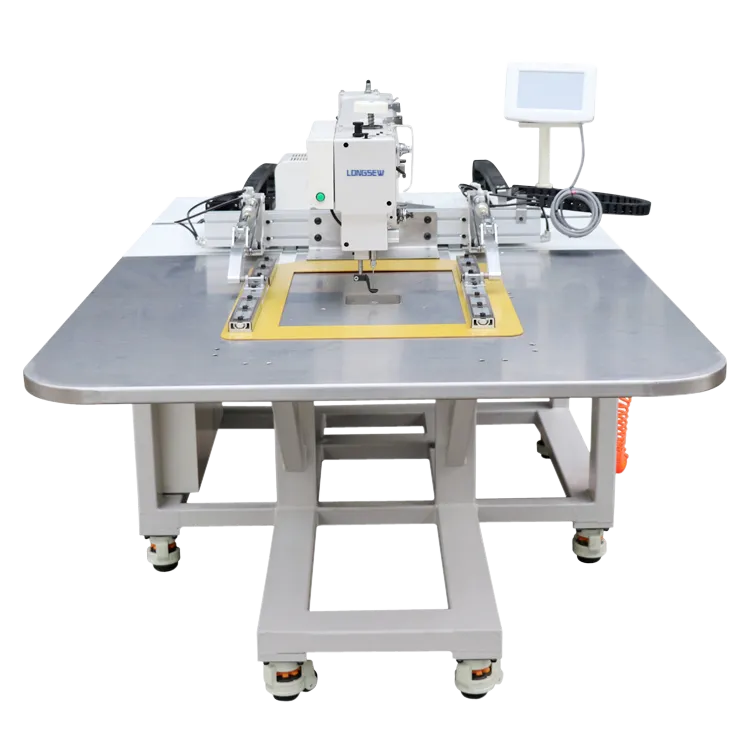
binding belt sewing

1. Prepare the Fabric Begin by cutting the fabric pieces to the desired size. Make sure the edges are clean and free of fraying. If using bias tape, cut it to a length that will cover the edges of your primary fabric piece.
2. Create the Binding If you are making your own binding, cut the fabric into strips approximately 2-3 inches wide. Fold the strips in half lengthwise and press with an iron. Then, unfold and fold each edge toward the center crease, pressing again. Finally, fold the strip in half to create a binding tape.
3. Pin the Binding Place the binding along the edge of the fabric, aligning it with the raw edge. Use pins or clips to hold it in place, ensuring that the binding covers the raw edge entirely.
4. Sew the Binding Using a straight stitch on your sewing machine, sew the binding to the fabric. Start from one end and sew along the edge, removing pins as you go. Aim for a consistent seam allowance, usually around ¼ inch from the edge.
5. Finish the Binding After sewing, fold the binding over to the opposite side and press it with an iron. This will create a clean finish on both sides of the fabric. Pin it in place again, and sew another line of stitching close to the edge of the binding on the back side to secure it.
6. Final Touches Inspect your work for any uneven edges or loose threads. Trim any excess fabric and give the entire piece a final press with an iron for that professional touch.
Conclusion
Binding belt sewing is not only a practical technique but also an opportunity to express creativity through fabric choices and designs. With practice, you can master this skill and apply it to various sewing projects, elevating your work and ensuring a polished finish. Whether you’re creating a simple belt or a complex accessory, binding offers an elegant solution to raw edges and enhances the durability of your projects.
-
Industrial Cylinder Arm Sewing Machine: Revolutionizing Heavy-Duty SewingNewsJul.28,2025
-
Cylinder Arm Sewing Machine: Perfect for Special Sewing ApplicationsNewsJul.28,2025
-
Cylinder Bed Sewing Machine: Essential for Sewing Complex MaterialsNewsJul.28,2025
-
Heavy Duty Sewing Machine: The Essential Tool for Industrial ApplicationsNewsJul.28,2025
-
Computerized Pattern Sewing Machine: Revolutionizing Precision StitchingNewsJul.28,2025
-
Heavy Duty Industrial Sewing Machine: Power Meets PrecisionNewsJul.28,2025
-
Leather Sewing Machine: The Industrial Standard for Tough MaterialsNewsJul.18,2025


