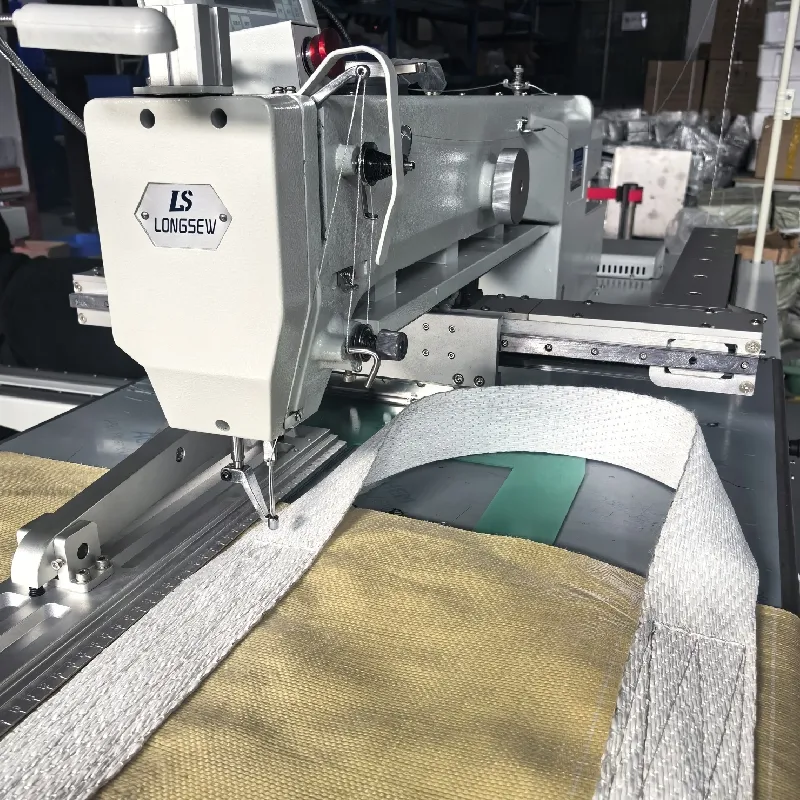
single needle lockstitch machine threading
Threading a Single Needle Lockstitch Machine
Threading a single needle lockstitch machine is a fundamental skill for anyone who operates a sewing machine for garment construction, quilting, or general sewing projects. Successfully threading the machine not only ensures smooth operation but also affects the quality of the seams produced. This article will guide you through the threading process step-by-step and highlight some common issues that may arise.
Understanding the Components
Before we delve into the threading process, it’s essential to familiarize yourself with the key components of a single needle lockstitch machine. The main parts include the spool holder, thread tension disks, take-up lever, needle, and bobbin case. Each part plays a crucial role in ensuring the machine functions correctly and produces balanced stitches.
Step-by-Step Threading Guide
1. Prepare Your Machine Begin by turning off the machine for safety and removing any old thread or debris from the needle and bobbin area. This ensures a clean workspace for optimal performance.
2. Install the Spool Place the thread spool on the spool holder located at the top of the machine. Ensure it sits securely and can spin freely.
3. Guide the Thread Through the Tension Disk Pull the thread from the spool and guide it through the tension disks according to the machine's threading diagram. This step is critical, as improper tension can lead to uneven stitches.
4. Thread the Take-Up Lever Next, thread the thread through the take-up lever. This lever moves up and down as you sew and must be threaded correctly to regulate the thread supply to the needle.
single needle lockstitch machine threading

5. Thread the Needle Guide the thread down to the needle area, ensuring it passes through the appropriate guides along the way. Finally, thread the needle from front to back, making it easier to sew.
6. Prepare the Bobbin While this guide focuses on the needle threading, don't forget to prepare the bobbin. Wind the bobbin according to the machine’s instructions and place it in the bobbin case.
7. Pull the Thread Through and Start Sewing Once the needle is threaded and the bobbin is correctly installed, gently pull both threads under the presser foot. Lower the presser foot and secure the threads by either sewing a few stitches or using the hand wheel to establish tension.
Common Issues and Troubleshooting
Despite the simplicity of the threading process, users may encounter common issues. If the machine skips stitches or produces loose seams, check that the needle is correctly installed and not damaged. Additionally, ensure the thread tension is appropriately set—if the threads appear loose, increase the tension slightly.
If the machine jams or the thread breaks frequently, recheck the threading path. Make sure the thread is not tangled and is passing through all necessary guides and tension disks. Lastly, remember to operate the machine at the right speed; rushing can lead to threading errors and unsafe operation.
Conclusion
Being adept at threading a single needle lockstitch machine is crucial for any sewing enthusiast. By following the above steps and understanding potential issues, you can ensure your machine operates smoothly, allowing you to focus on your creativity and the joy of sewing. With practice, threading will become a swift and effortless part of your sewing routine, enabling you to produce high-quality projects with precision.
-
Heavy Duty Leather Sewing Machine: A Must-Have for Professional LeatherworkNewsMay.28,2025
-
Leather Sewing Machine: Essential for High-Quality LeathercraftNewsMay.28,2025
-
Extra Heavy Duty Sewing Machine for Premium Leather ApplicationsNewsMay.28,2025
-
Walking Foot Cylinder Arm Sewing Machine: Precision and Power CombinedNewsMay.28,2025
-
Industrial Cylinder Arm Sewing Machine: Engineered for High-Performance StitchingNewsMay.28,2025
-
Cylinder Bed Sewing Machine: A Powerful Solution for Precision StitchingNewsMay.28,2025
-
Zigzag Sewing MachineNewsMay.12,2025


