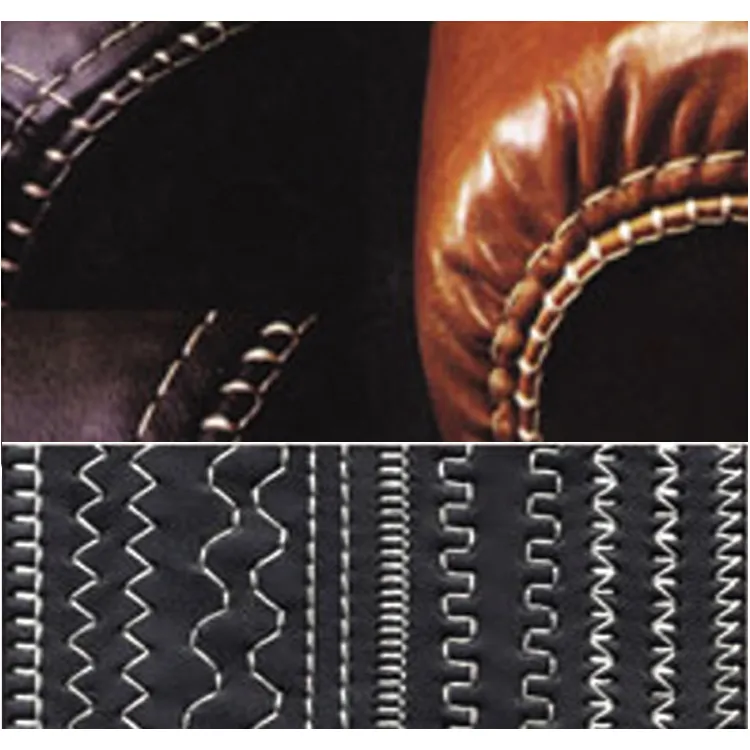
binding belt sewing
Understanding Binding Belt Sewing An Essential Sewing Technique
Binding belt sewing is a specialized technique in garment construction that involves adding a binding to the edges of a fabric belt for both functional and aesthetic purposes. This process is crucial for ensuring a polished finish, enhancing durability, and providing style to various types of clothing and accessories. In this article, we will explore the fundamentals of binding belt sewing, its applications, benefits, and step-by-step guidance for achieving the best results.
The Basics of Binding Belts
Binding belts are strips of fabric, often sewn into clothing items to provide structure, support, and style. Common uses for binding belts include waistbands on skirts, trousers, and dresses, as well as decorative elements in bags and outerwear. The binding can be made from the same fabric as the garment or contrasting materials for visual interest.
The technique of binding belt sewing can be performed using different types of bindings, including bias tape, fold-over elastic, or even custom-cut fabric strips. The choice of binding material often depends on the garment's style and the desired level of elasticity, durability, and aesthetic appeal.
Why Binding Belt Sewing Is Important
1. Durability Using a binding technique helps to reinforce the edges of the fabric, preventing fraying and extending the garment's lifespan. This is particularly important for areas that endure stress, such as waistbands that bear the weight of the garment.
2. Aesthetic Appeal Binding adds a decorative element to the design, allowing for a polished edge that can elevate a simple piece into a fashion statement. Contrast binding can create a striking visual effect, while matching binding can seamlessly integrate with the design.
3. Finish and Structure Properly applied binding provides clean edges and a finished look, making garments appear more professional. It also adds structure, helping the garment to hold its shape better over time.
Steps for Binding Belt Sewing
binding belt sewing

To achieve a successful binding belt addition, follow these steps
1. Select Your Materials Choose the fabric for your belt and matching or contrasting binding. Make sure the fabrics are compatible in terms of weight and drape.
2. Cut Your Fabric For the belt, cut a strip of fabric to your desired length and width (typically 2-4 inches wide). For the binding, cut a strip that is double the width of the belt plus seam allowances.
3. Prepare the Binding Fold the binding strip in half lengthwise and press it to create a sharp fold. Open it back up to have a crease line that will later guide the sewing.
4. Sew the Binding Align the raw edge of the binding with the raw edge of the belt. Pin it in place and sew along the edge, ensuring the binding wraps around the raw edge of the belt.
5. Finish the Edges Fold the binding over to the back side of the belt, encasing the raw edge, and pin it in place. Sew close to the folded edge to secure the binding in place. This will create a clean finish.
6. Press and Inspect Once all sewing is completed, press the belt to flatten any seams and ensure the binding lays flat. Inspect for any uneven edges or misaligned seams that may need adjustments.
Conclusion
Binding belt sewing is an essential technique in the world of garment making, serving both practical and artistic purposes. By reinforcing edges, adding beauty, and creating a professional finish, this method significantly enhances the quality of clothing and accessories. Whether you’re an experienced sewist or a beginner fascinated by the craft, mastering binding belt sewing can expand your skills and enrich your creative projects. With practice and patience, you'll be able to create garments that not only fit well but also reflect your individual style, making each piece a unique representation of your sewing journey.
-
Industrial Cylinder Arm Sewing Machine: Revolutionizing Heavy-Duty SewingNewsJul.28,2025
-
Cylinder Arm Sewing Machine: Perfect for Special Sewing ApplicationsNewsJul.28,2025
-
Cylinder Bed Sewing Machine: Essential for Sewing Complex MaterialsNewsJul.28,2025
-
Heavy Duty Sewing Machine: The Essential Tool for Industrial ApplicationsNewsJul.28,2025
-
Computerized Pattern Sewing Machine: Revolutionizing Precision StitchingNewsJul.28,2025
-
Heavy Duty Industrial Sewing Machine: Power Meets PrecisionNewsJul.28,2025
-
Leather Sewing Machine: The Industrial Standard for Tough MaterialsNewsJul.18,2025


