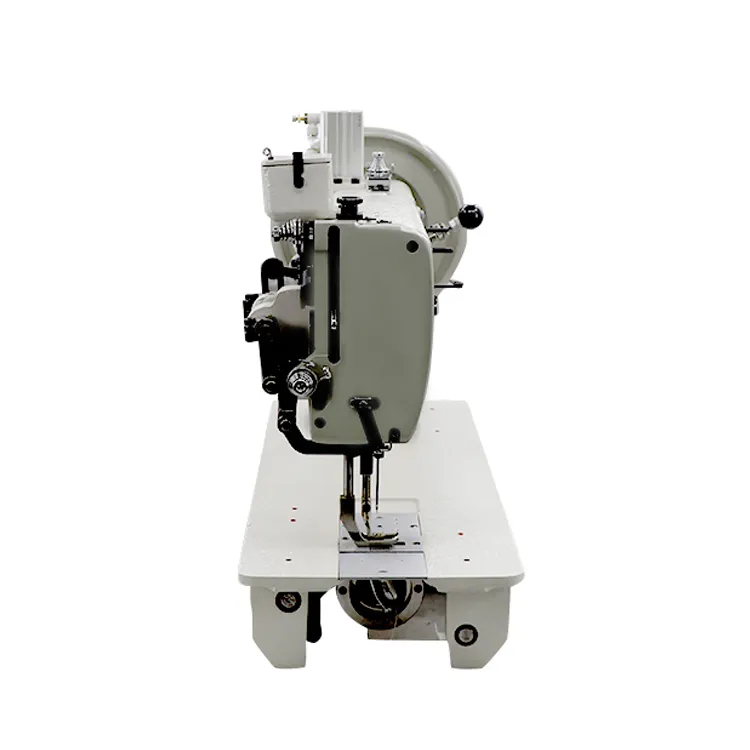
Tips for Sewing Leather with a Home Sewing Machine Successfully
Sewing Leather on a Home Sewing Machine
Sewing leather might seem like a daunting task, especially for beginners who primarily work with fabric. However, with the right tools, techniques, and a bit of practice, you can successfully sew leather on a home sewing machine. This article will guide you through the essentials of sewing leather, from choosing the right materials to using your machine correctly.
Choosing the Right Leather
There are various types of leather, ranging from soft and supple to thick and tough. When starting, it’s advisable to choose thinner leather, such as lambskin or cowhide. These materials are more forgiving and easier to handle. Premium leather, such as full-grain leather, is ideal for experienced sewists looking for durability and aesthetics. Always opt for a quality leather that suits your project’s purpose, whether it’s for fashion, accessories, or home decor.
Essential Tools and Equipment
Before diving into your leather project, gather the necessary tools. Here’s a checklist
1. Sewing Machine Confirm that your home sewing machine can handle leather. Look for models with adjustable presser foot pressure and a strong motor. 2. Leather Needles Invest in specialized leather needles, which have a wedge-shaped tip designed to penetrate tough materials without causing damage.
3. Thread Use polyester or nylon thread, as these types provide durability and flexibility, making them suitable for leather working.
4. Walking Foot or Teflon Foot These feet help to grip the leather and prevent it from slipping during sewing, allowing for smoother feeding through the machine.
5. Cutting Tools A rotary cutter or sharp scissors specifically designed for leather will give you clean cuts. Always use a cutting mat to protect your surfaces.
6. Additional Supplies Use clips instead of pins to hold leather pieces together, as pins can leave holes. You will also need a ruler, a marking tool that won’t damage the leather, and some adhesive for temporary bonding.
Preparing to Sew
sewing leather on a home sewing machine

1. Cutting the Leather Use sharp tools to cut your leather pieces to size accurately. Always measure twice to ensure precision.
2. Marking Your Seams Lightly mark where you plan to sew, using tailor's chalk or another leather-safe marking tool.
3. Setting Up Your Machine Install the walking foot or Teflon foot, and thread your machine with high-quality thread. Adjust the tension settings as necessary to accommodate the thickness of the leather.
Sewing Techniques
When you start sewing, consider these key techniques
- Test Stitches Always test your stitch on a scrap piece of leather to check the tension and stitch quality. - Speed and Control Sew at a slower pace to maintain control and ensure the leather feeds evenly. If your machine struggles, consider increasing the stitch length to reduce the density of perforations in the leather.
- Use Straight Seams Straight seams can be easier to manage and provide a cleaner finish. If you need to pivot, lift the presser foot gently to reposition without moving the leather.
Finishing Touches
Once your project is complete, you may want to finish the edges. Use an edge tool to neaten them, and consider applying edge paint or sealer for a polished look. Additionally, conditioning your leather can enhance its appearance and longevity.
Conclusion
Sewing leather on a home sewing machine is entirely achievable with the right preparation and equipment. Embrace the learning process and start with simple projects, gradually building your confidence and skills. The satisfaction of creating leather goods, whether they be bags, wallets, or belts, will undoubtedly make the effort worthwhile. Happy sewing!
-
Industrial Cylinder Arm Sewing Machine: Revolutionizing Heavy-Duty SewingNewsJul.28,2025
-
Cylinder Arm Sewing Machine: Perfect for Special Sewing ApplicationsNewsJul.28,2025
-
Cylinder Bed Sewing Machine: Essential for Sewing Complex MaterialsNewsJul.28,2025
-
Heavy Duty Sewing Machine: The Essential Tool for Industrial ApplicationsNewsJul.28,2025
-
Computerized Pattern Sewing Machine: Revolutionizing Precision StitchingNewsJul.28,2025
-
Heavy Duty Industrial Sewing Machine: Power Meets PrecisionNewsJul.28,2025
-
Leather Sewing Machine: The Industrial Standard for Tough MaterialsNewsJul.18,2025


