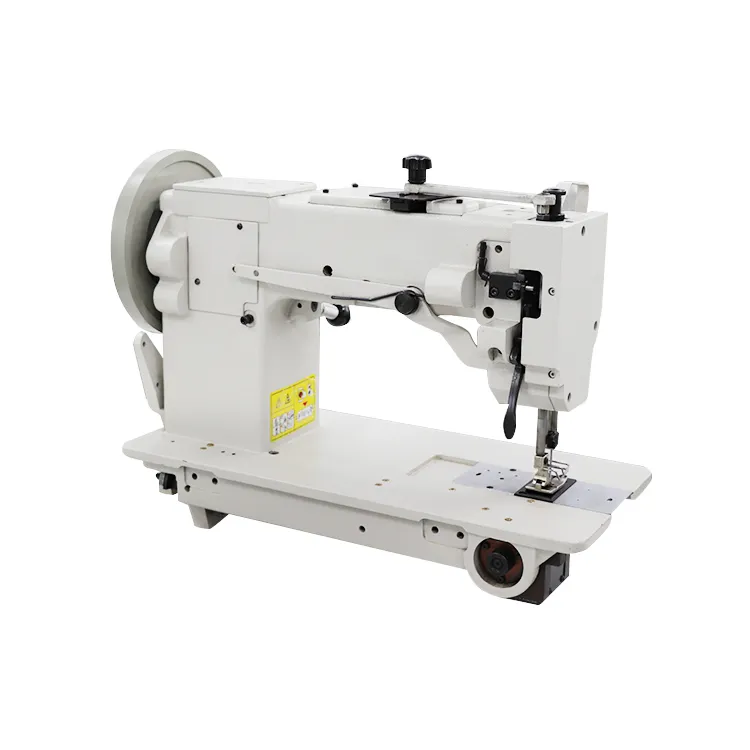
Techniques for Sewing Binding Belts with Precision and Style
The Art and Technique of Binding Belt Sewing
In the realm of garment construction, few techniques are as fundamental as binding belt sewing. This process not only serves as an essential finishing technique but also enhances the overall aesthetic and functionality of a garment. With the right approach, even novice sewists can create beautifully finished edges with a binding belt. This article explores the intricacies of binding belt sewing, including its purpose, materials, and step-by-step techniques to master the art.
The Purpose of Binding Belt Sewing
Binding belt sewing is primarily used to finish the edges of fabric, providing a clean and polished look. This technique is particularly useful in areas that endure frequent wear and tear, such as waistbands and armholes. By enclosing raw edges, the binding belt prevents fraying and extends the life of the garment. Additionally, it adds a decorative element, allowing for creative expression through the choice of fabric and color. With the right binding, a simple garment can be transformed into a stylish piece.
Choosing the Right Materials
Selecting appropriate materials is crucial in binding belt sewing. The choice of fabric for the binding should complement the main fabric while being sturdy enough to withstand everyday use. Common choices include bias tape, which is cut on the bias of the fabric for flexibility, or pre-made binding, available in a variety of colors and materials. When making your own binding, consider using a fabric with some stretch to allow for smooth application.
The main fabric also plays a vital role; heavier fabrics, like denim or canvas, may require a sturdier binding compared to lightweight materials like cotton or linen. The thread used should match the binding and be strong enough to hold the layers together without breaking. A polyester or cotton-wrapped polyester thread is often the best choice for durability.
Step-by-Step Techniques
binding belt sewing

1. Preparation Begin by preparing the fabric. Cut the main fabric and the binding to the desired lengths. It’s crucial to measure accurately to avoid any discrepancies in the final product. Pre-wash the fabric to prevent shrinkage later.
2. Creating the Binding If making your own binding, cut strips of fabric on the bias. Usually, a width of 2-3 inches provides enough coverage for the raw edges. Fold each strip in half lengthwise and press. Open it back up and fold the edges inward to the center crease before pressing again. This creates a finished bias tape.
3. Attaching the Binding Align the raw edge of the fabric with the open edge of the binding. Pin the binding in place, making sure that the raw edges are evenly matched. Use a sewing machine to stitch along the edge, securing the binding to the fabric. A straight stitch or a zigzag stitch can be used, depending on the desired look.
4. Finishing the Edges Once the binding is sewn on, fold it over the raw edge and pin it in place. Stitch along the fold to secure it. It’s essential to keep the stitching even to maintain a professional finish. If desired, a decorative stitch can be used on the outside for an added touch of flair.
5. Final Touches Press the binding to set the stitches and remove any creases. Inspect the garment for any loose threads or uneven stitching before completing the project.
Conclusion
Binding belt sewing is a vital skill that enhances both the durability and appearance of garments. By mastering this technique, both novice and experienced sewists can elevate their sewing projects. With the right materials and a careful approach, finishing edges with a binding belt becomes not only a practical necessity but also an opportunity for creative expression. Whether for personal projects or professional endeavors, binding belt sewing is an art form worth mastering.
-
Industrial Cylinder Arm Sewing Machine: Revolutionizing Heavy-Duty SewingNewsJul.28,2025
-
Cylinder Arm Sewing Machine: Perfect for Special Sewing ApplicationsNewsJul.28,2025
-
Cylinder Bed Sewing Machine: Essential for Sewing Complex MaterialsNewsJul.28,2025
-
Heavy Duty Sewing Machine: The Essential Tool for Industrial ApplicationsNewsJul.28,2025
-
Computerized Pattern Sewing Machine: Revolutionizing Precision StitchingNewsJul.28,2025
-
Heavy Duty Industrial Sewing Machine: Power Meets PrecisionNewsJul.28,2025
-
Leather Sewing Machine: The Industrial Standard for Tough MaterialsNewsJul.18,2025


