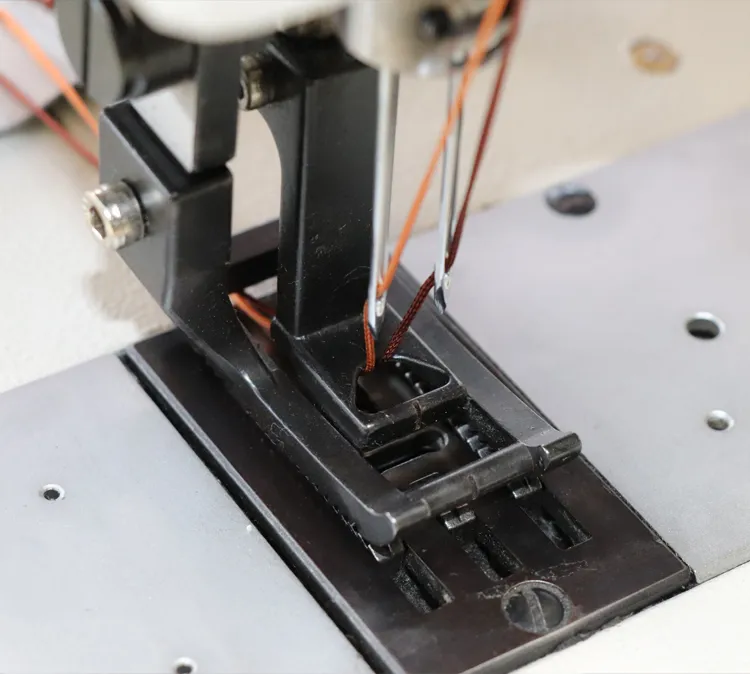
Tips for Correctly Positioning Needles When Hand Sewing Leather for Optimal Results
Positioning the Needle for Hand Sewing Leather
Hand sewing leather is a timeless skill that combines artistry with craftsmanship. Whether you're creating a bespoke leather bag, wallet, or any other handcrafted item, understanding how to position the needle correctly is crucial for achieving clean, strong stitches. This article will explore the nuances of needle positioning specific to leatherwork, providing you with the essential knowledge to elevate your sewing projects.
Understanding Your Leather
Before you begin, it's vital to recognize the type of leather you're working with. Different leather weights and finishes will affect how you position your needle. For instance, thicker leathers, such as those used for belts or bags, require heavier-duty needles and a specific stitching technique to ensure durability. Conversely, thinner leathers, like lambskin, necessitate a more delicate approach to avoid perforation or tearing.
Choosing the Right Needle
Selecting the correct needle plays a significant role in the stitching process. For leather, a needle with a triangular or chisel point is recommended. This design allows for easier penetration through tough leather fibers. Additionally, the size of the needle should correspond to the weight of the leather being used. A heavier needle (e.g., sizes 18-22) is suitable for thick leather, while a lighter needle (sizes 14-16) works better for thinner varieties.
Correct Angle and Positioning
The position of the needle as it enters and exits the leather is fundamental to achieving secure stitches. Ideally, you should hold the leather firmly but not excessively tight, as this can distort the material. When inserting the needle, aim to enter the leather at a 90-degree angle to maintain consistent stitch depth. This angle not only ensures a cleaner penetration but also helps create uniform spacing between stitches.
positioning needle for hand sewing leather

As you sew, keep a consistent distance from the edges of the leather. A standard distance is about 1/8 inch to 1/4 inch, depending on the project requirements. Using a ruler or spacing tool can aid in achieving uniformity, especially for larger projects. Moreover, always keep the needle perpendicular to the leather to prevent it from slipping, which can lead to uneven stitches or damage.
Managing Thread Tension
Another critical aspect of needle positioning is the tension of the thread. As you pull the thread through the leather, be cautious not to pull too tightly, as this can cause puckering or warping of the leather. Maintaining a balanced tension allows for a smoother finish and enhances the overall appearance of the stitching.
Stitching Techniques
Once you're comfortable with needle positioning, explore different stitching techniques to enhance your leather projects. The saddle stitch, for example, requires you to use two needles threaded on either end of a single piece of thread. This method allows for more strength and durability, making it ideal for items subjected to wear and tear. Pay close attention to how you position the needles for this technique. Using the same entry and exit points for both needles will create a beautiful, consistent look.
Conclusion
Mastering the art of needle positioning when hand sewing leather can dramatically improve the quality of your work. By understanding your materials, selecting the right needle, maintaining correct angles, managing thread tension, and experimenting with various stitching techniques, you'll be well on your way to creating stunning leather goods. Take your time to practice and refine your skills, and remember that, like any craft, mastery comes with experience. Happy sewing!
-
Leather Sewing Machine: The Industrial Standard for Tough MaterialsNewsJul.18,2025
-
Sail Making Machine: Heavy-Duty Stitching for Industrial and Marine NeedsNewsJul.18,2025
-
Sling Sewing Machine: The Backbone of Heavy-Duty FabricationNewsJul.18,2025
-
Leather Sewing Machine: Precision for Heavy-Duty StitchingNewsJul.18,2025
-
Big Bag Sewing Machine: Powering the Future of Bulk PackagingNewsJul.18,2025
-
FIBC Sewing Machine: Essential Equipment for Bulk Bag ProductionNewsJul.18,2025
-
Heavy Duty Leather Sewing Machine: A Must-Have for Professional LeatherworkNewsMay.28,2025


