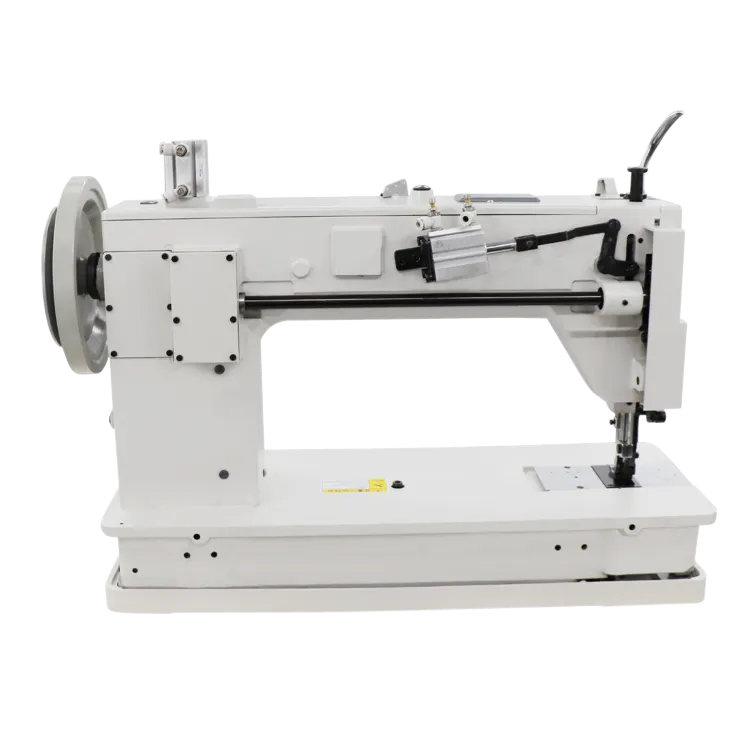
single needle lockstitch machine threading
Mastering Threading a Single Needle Lockstitch Machine
Threading a single needle lockstitch machine is a fundamental skill for anyone involved in sewing, whether for hobby or profession. This machine, renowned for its versatility and reliability, utilizes a single needle and two threads—a top thread and a bobbin thread—to create a variety of stitches. Mastering the threading process is essential not only for efficient operation but also for avoiding common sewing mishaps.
To begin, gather your materials the sewing machine, thread, and fabric. Make sure your machine is turned off to ensure safety during the threading process. The first step is to install the spool of thread on the spool pin, which is typically located at the top of the machine. Place a spool cap on top to prevent the thread from slipping off during use.
Next, pull the thread through the tension disc. This is a crucial part of the threading process as it regulates the tension of the thread, ensuring even stitches. Make sure the thread is seated securely between the discs; improper seating can lead to tension issues that result in uneven stitches or thread breakage.
Once the thread is through the tension disc, bring it down through the thread guide and around the take-up lever. The take-up lever plays a significant role as it draws the thread back up after each stitch, helping to create a tight and even tension. Ensure that the thread is properly threaded through the take-up lever, as skipping this step can lead to stitching problems.
single needle lockstitch machine threading

After threading the take-up lever, guide the thread down towards the needle. Thread the needle from front to back. It’s essential to use the correct size needle for your thread; a needle that is too large or too small can lead to issues like skipped stitches or excessive fraying.
With the top thread in place, it’s time to prepare the bobbin. Insert the bobbin into its case, ensuring it is wound correctly. Most machines require the bobbin to unwind in a specific direction; consult your machine's manual for guidance. Once the bobbin is in place, pull the bobbin thread up through the needle plate by turning the handwheel towards you, which will create a loop of thread.
Congratulations! You have successfully threaded your single needle lockstitch machine. Now you are ready to sew. It’s beneficial to test your machine on a scrap piece of fabric before beginning your actual project, adjusting the tension and stitch length as needed.
In conclusion, mastering the threading of a single needle lockstitch machine is a vital skill for any sewing enthusiast. With practice and attention to detail, you can ensure smooth operation and beautiful stitching, allowing your creativity to shine through in your fabric projects. Happy sewing!
-
Boost Production Efficiency with a Pattern Sewing MachineNewsAug.29,2025
-
Industrial Excellence with the Best Heavy Duty Sewing MachineNewsAug.29,2025
-
Precision and Power with the Best Pattern Sewing MachineNewsAug.29,2025
-
Reliable Bulk Packaging Starts With the Right FIBC Sewing MachineNewsAug.29,2025
-
Advanced Packaging Solutions: Elevate Productivity with Jumbo Bag Sewing Machine and Industrial Stitching EquipmentNewsAug.29,2025
-
High-Performance Solutions for Bulk Packaging: FIBC Sewing Machine and MoreNewsAug.29,2025
-
Maximize Efficiency with an Industrial Cylinder Arm Sewing MachineNewsAug.28,2025


