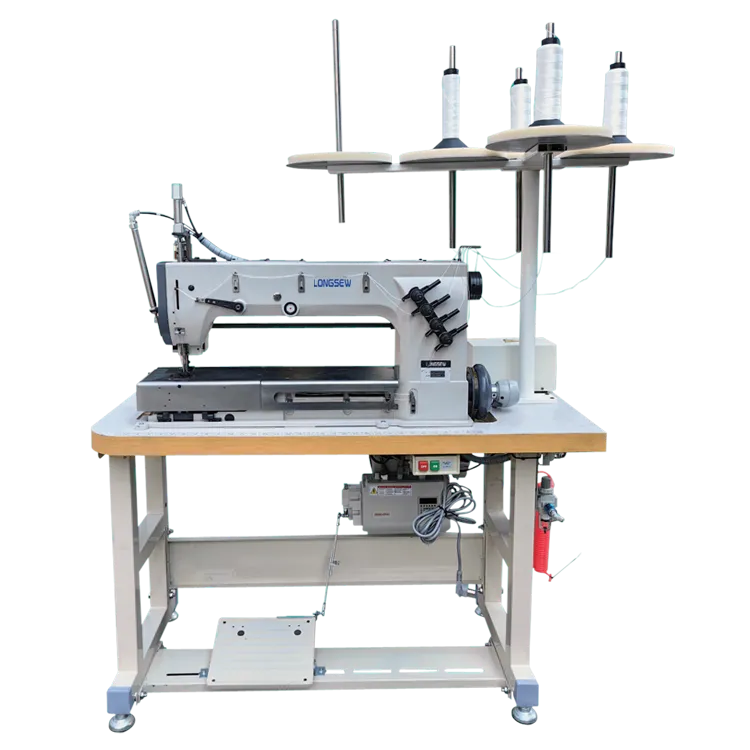
Techniques for Sewing Vinyl Upholstery for Durable and Stylish Furniture Upholstery
Sewing Vinyl Upholstery A Comprehensive Guide
Sewing vinyl upholstery is a popular choice for those looking to refresh their furniture, create custom pieces, or even embark on a DIY project. Vinyl is an excellent material for upholstery due to its durability, versatility, and ease of cleaning, making it suitable for a wide range of applications—from chairs and sofas to cushions and decorative items. In this article, we will delve into the key aspects of sewing vinyl upholstery, including tools needed, techniques, tips, and potential pitfalls to avoid.
Understanding Vinyl Upholstery
Vinyl is a synthetic material that mimics leather, offering a similar aesthetic without the high maintenance and cost. It comes in various textures, colors, and patterns, providing ample options for homeowners and designers. One of the standout features of vinyl is its resistance to stains and spills, which makes it a favorite in homes with children or pets.
Tools and Materials Required
Before starting your sewing project, it’s vital to gather the necessary tools and materials. Here's a basic list to get you started
1. Vinyl Fabric Choose a vinyl that fits your project’s design and durability needs. 2. Sewing Machine A heavy-duty sewing machine is recommended when working with vinyl, as it can easily handle the thickness of the material. 3. Needles Use a heavy-duty needle or a Teflon foot, which helps the vinyl glide smoothly through the machine. 4. Thread Select a strong polyester thread as it is durable and resistant to wear and tear. 5. Cutting Tools Fabric scissors and a rotary cutter will help you cut the vinyl accurately without fraying. 6. Ruler and Measuring Tape Accurate measurements are crucial in upholstery projects. 7. Batting or Foam If you’re reupholstering furniture, you may need to add padding for comfort.
Preparation and Cutting
The first step in any sewing project is proper measurement and cutting. Carefully measure the areas that require vinyl coverage, ensuring you account for seams and overlaps. When cutting vinyl, it’s advisable to use a rotary cutter on a cutting mat for cleaner edges. Always cut with the “right side” of the fabric facing up.
Sewing Techniques
sewing vinyl upholstery

Sewing vinyl can be tricky at times due to its tendency to stick to machines or slip while sewing. Here are some techniques to help you get the best results
1. Use Clips Instead of Pins Traditional pins can leave holes in vinyl. Instead, use fabric clips to hold the vinyl pieces together while you sew. 2. Adjust Tension Settings Since vinyl is thicker than regular fabric, you may need to adjust the tension settings on your sewing machine. Experiment to find the settings that work best for your specific vinyl. 3. Stitch Length A longer stitch length (around 3-4 mm) is preferable as it provides more flexibility and reduces the risk of damaging the material. 4. Sewing Direction Always sew from the top side of the vinyl to prevent any puckering on the surface.
Final Touches and Tips
After sewing your vinyl upholstery, take the time to finish edges to prevent fraying. You can use a serger for finishing edges or bias tape for a cleaner look. If your upholstery involves cushions or covers, ensure you leave zippers or closures accessible for easy cleaning.
Common Challenges and Solutions
While sewing vinyl upholstery can be a rewarding endeavor, it’s not without its challenges. Common issues include
- Sticking If your vinyl sticks to the sewing machine, using a Teflon foot can reduce friction. - Puckering Puckering can be minimized by maintaining a consistent seam allowance and using the right stitch length.
Conclusion
Sewing vinyl upholstery allows for creativity and customization in home decor. With proper preparation, the right tools, and some dedicated practice, anyone can master the art of working with this versatile material. Whether you're reupholstering a beloved chair or creating something new from scratch, the possibilities are endless. Embrace the challenge and enjoy the satisfaction of transforming your space with beautifully sewn vinyl upholstery!
-
Boost Production Efficiency with a Pattern Sewing MachineNewsAug.29,2025
-
Industrial Excellence with the Best Heavy Duty Sewing MachineNewsAug.29,2025
-
Precision and Power with the Best Pattern Sewing MachineNewsAug.29,2025
-
Reliable Bulk Packaging Starts With the Right FIBC Sewing MachineNewsAug.29,2025
-
Advanced Packaging Solutions: Elevate Productivity with Jumbo Bag Sewing Machine and Industrial Stitching EquipmentNewsAug.29,2025
-
High-Performance Solutions for Bulk Packaging: FIBC Sewing Machine and MoreNewsAug.29,2025
-
Maximize Efficiency with an Industrial Cylinder Arm Sewing MachineNewsAug.28,2025


