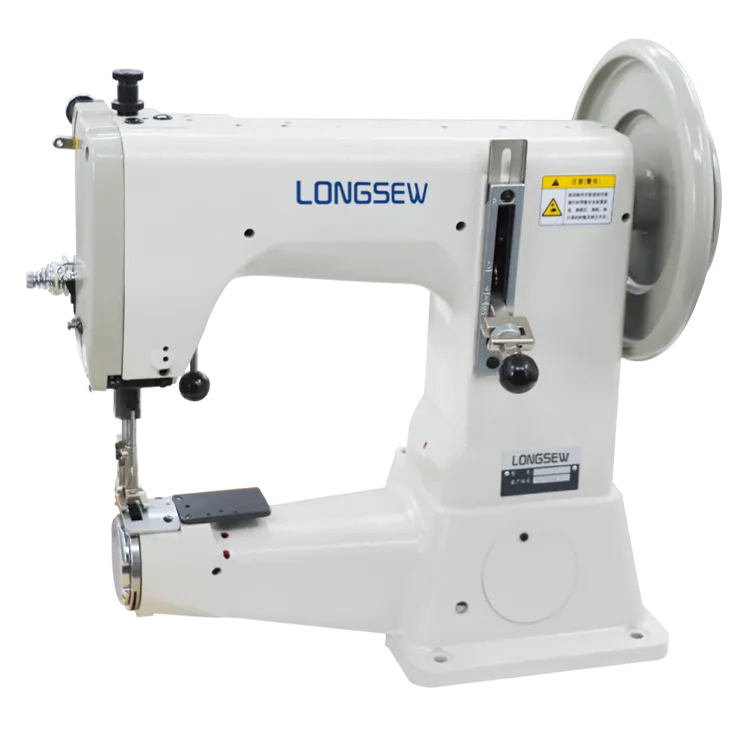
sewing leather on domestic machine
Sewing Leather on a Domestic Machine Tips and Techniques for Success
Sewing leather can seem daunting, especially for those accustomed to working with fabric. However, with the right techniques, tools, and a bit of practice, you can successfully sew leather on your domestic sewing machine. This article will guide you through essential tips and tricks to make leather sewing a breeze.
Understanding Leather
Leather is a unique material with characteristics that set it apart from traditional fabrics. It is thick, often sturdy, and comes in various types such as full-grain, top-grain, and suede. Each type has its own texture and flexibility, affecting how it should be sewn. Before starting a project, familiarize yourself with the leather you are using to ensure you choose the right settings and tools.
Preparing Your Machine
The first step in sewing leather is to prepare your sewing machine. Here are some key adjustments
1. Use a Walking Foot A walking foot is essential when sewing leather, as it helps to move the layers evenly through the machine, preventing slipping or bunching.
2. Select the Right Needle A leather needle, typically labeled as “90/14” or “100/16,” features a wedge-shaped point designed to penetrate leather without causing damage. Using a standard needle can lead to skipped stitches or tearing.
3. Adjust Stitches For leather, it’s best to use a longer stitch length, typically around 3-4 mm, to avoid perforating the material too much and weakening it. Experiment with stitch lengths on scrap pieces to find the best setting.
4. Thread Choice Choose a strong thread that can withstand the durability of leather. Polyester or nylon threads are optimal as they provide strength and flexibility. Avoid cotton threads, as they are less durable.
Techniques for Sewing Leather
sewing leather on domestic machine

Once your machine is set up, it's time to begin sewing. Here are some techniques to keep in mind
1. Use Tape or Tissue Paper To prevent leather from sticking to the foot of the machine, consider placing a strip of painter’s tape or tissue paper under the presser foot. This can help the material glide smoothly without getting caught.
2. Pinning and Clipping Rather than using pins, opt for clips specifically designed for thick materials. Pins can leave permanent holes in leather, whereas clips can hold layers together without damage.
3. Don’t Rush Sewing leather requires patience. Take your time while guiding the material through the machine. Avoid forcing the leather, as this can lead to uneven stitches or machine jams.
4. Sewing Curves For curved seams, lower the needle into the leather before turning the fabric. This technique helps maintain control and accuracy, ensuring clean curves.
5. Finish Edges Leather edges can be raw and prone to fraying. Use a leather edge finish or a bias tape to protect the edges after sewing. You can also consider burnishing the edges for a professional look.
Practice on Scraps
Before diving into your main project, practice sewing on scrap pieces of the same leather. This helps you familiarize yourself with the material and allows you to test the machine settings and stitch lengths. Practicing on scraps also gives you the chance to troubleshoot any issues that may arise without risking your main project.
Final Thoughts
Sewing leather on a domestic machine is entirely possible with the right preparation and techniques. By investing time in understanding the material, setting up your machine correctly, and employing the best sewing practices, you can create beautiful leather items—whether it's bags, wallets, or garments. So, gather your tools, practice on some scraps, and let your creativity shine as you explore the world of leather sewing!
-
Boost Production Efficiency with a Pattern Sewing MachineNewsAug.29,2025
-
Industrial Excellence with the Best Heavy Duty Sewing MachineNewsAug.29,2025
-
Precision and Power with the Best Pattern Sewing MachineNewsAug.29,2025
-
Reliable Bulk Packaging Starts With the Right FIBC Sewing MachineNewsAug.29,2025
-
Advanced Packaging Solutions: Elevate Productivity with Jumbo Bag Sewing Machine and Industrial Stitching EquipmentNewsAug.29,2025
-
High-Performance Solutions for Bulk Packaging: FIBC Sewing Machine and MoreNewsAug.29,2025
-
Maximize Efficiency with an Industrial Cylinder Arm Sewing MachineNewsAug.28,2025


