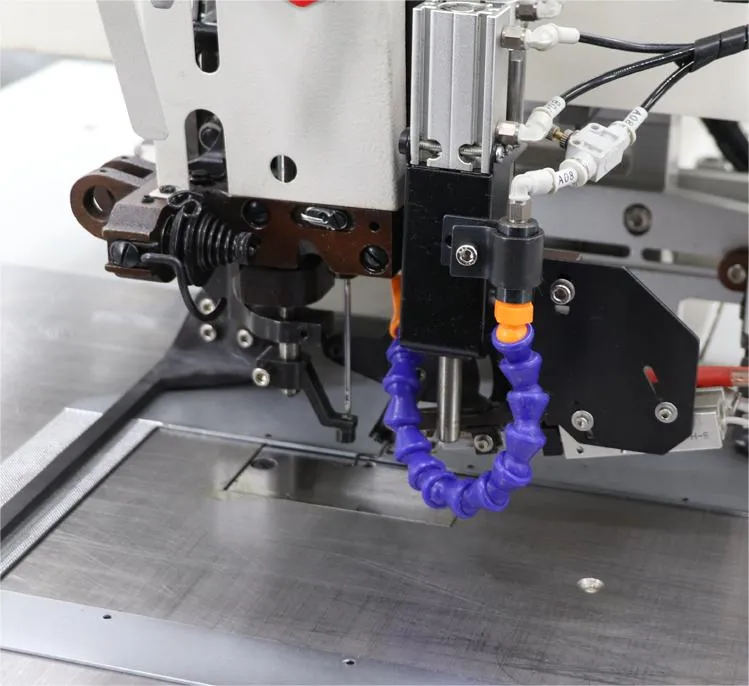
how to use mini chain stitch sewing machine
How to Use a Mini Chain Stitch Sewing Machine
A mini chain stitch sewing machine is a versatile and convenient tool for sewing enthusiasts. It is designed for a variety of sewing projects, from simple alterations to creative crafts. With its compact size and ease of use, it can be a perfect addition to your sewing toolkit, especially if you have limited space. In this article, we will explore how to effectively use a mini chain stitch sewing machine, allowing you to unlock its full potential.
Understanding the Mini Chain Stitch Sewing Machine
Before diving into the usage, it’s essential to understand the features of a mini chain stitch sewing machine. Unlike traditional sewing machines, which create a lock stitch, a chain stitch machine uses a series of interlocking loops. This stitching method is not only strong and durable but also offers a unique stretch that is ideal for knit fabrics. Additionally, the mini version is lightweight and portable, making it perfect for travel or small sewing projects.
Getting Started Setup and Preparation
1. Read the Manual Before using your mini chain stitch sewing machine, thoroughly read the user manual. Each brand may have specific instructions, settings, and maintenance tips.
2. Choose Your Fabric The mini chain stitch machine works best with lightweight and medium-weight fabrics. For beginners, cotton or jersey fabric is a great choice. Ensure your fabric is clean and free from any wrinkles.
3. Thread the Machine To thread your machine, follow the diagram usually found on the machine itself. Start by placing your thread on the spool pin. Pull the thread through the tension disc and guide it down through the threading path until it reaches the needle. Make sure to thread the needle from the front to back, and pull a few inches of thread to work with.
4. Set Up the Bobbin The mini chain stitch sewing machine typically has a vertical bobbin. Wind your thread around the bobbin according to the instructions and secure it in place. Insert the bobbin into the bobbin case, ensuring that it unwinds in the correct direction.
5. Adjust Settings Most mini chain stitch machines come with adjustable settings for stitch length and tension. Experiment with these settings based on your fabric type and the project needs. A lower tension setting is usually best for stretch fabrics.
Starting to Sew
how to use mini chain stitch sewing machine

1. Position Your Fabric Place the fabric under the presser foot. Align the fabric edge according to the desired seam allowance. Lower the presser foot onto the fabric to hold it firmly in place.
2. Begin Sewing Start the machine using the foot pedal. Use slow, steady pressure to control the speed. Keep your hands close to guide the fabric but avoid pulling it, as this may cause the stitches to pucker.
3. Practice Curves and Corners If your project requires turning corners or sewing curves, make sure to lift the presser foot while leaving the needle in the fabric, pivot the fabric, and then lower the presser foot to continue sewing.
4. Reverse Stitching To secure the beginning and end of your seam, many mini chain stitch machines have a reverse setting. Use this function by pressing the reverse button or lever a few times at the start and finish of your sewing line.
Finishing Up
1. Trim Excess Thread Once you’ve finished sewing, lift the presser foot and gently pull the fabric away from the machine. Trim any stray threads for a clean finish.
2. Clean the Machine Regular maintenance ensures your mini chain stitch machine runs smoothly. Clean any lint or fabric remnants from the machine, especially around the bobbin area.
3. Storage Store your machine in a cool, dry place, preferably in its case or cover, to protect it from dust and damage.
Conclusion
Using a mini chain stitch sewing machine can be an enjoyable and rewarding experience. By following these steps, you can enhance your sewing skills and create various projects with ease. With a bit of practice, you'll find that the versatility and convenience of this machine will inspire your creativity and make sewing even more enjoyable. Happy sewing!
-
Boost Production Efficiency with a Pattern Sewing MachineNewsAug.29,2025
-
Industrial Excellence with the Best Heavy Duty Sewing MachineNewsAug.29,2025
-
Precision and Power with the Best Pattern Sewing MachineNewsAug.29,2025
-
Reliable Bulk Packaging Starts With the Right FIBC Sewing MachineNewsAug.29,2025
-
Advanced Packaging Solutions: Elevate Productivity with Jumbo Bag Sewing Machine and Industrial Stitching EquipmentNewsAug.29,2025
-
High-Performance Solutions for Bulk Packaging: FIBC Sewing Machine and MoreNewsAug.29,2025
-
Maximize Efficiency with an Industrial Cylinder Arm Sewing MachineNewsAug.28,2025


