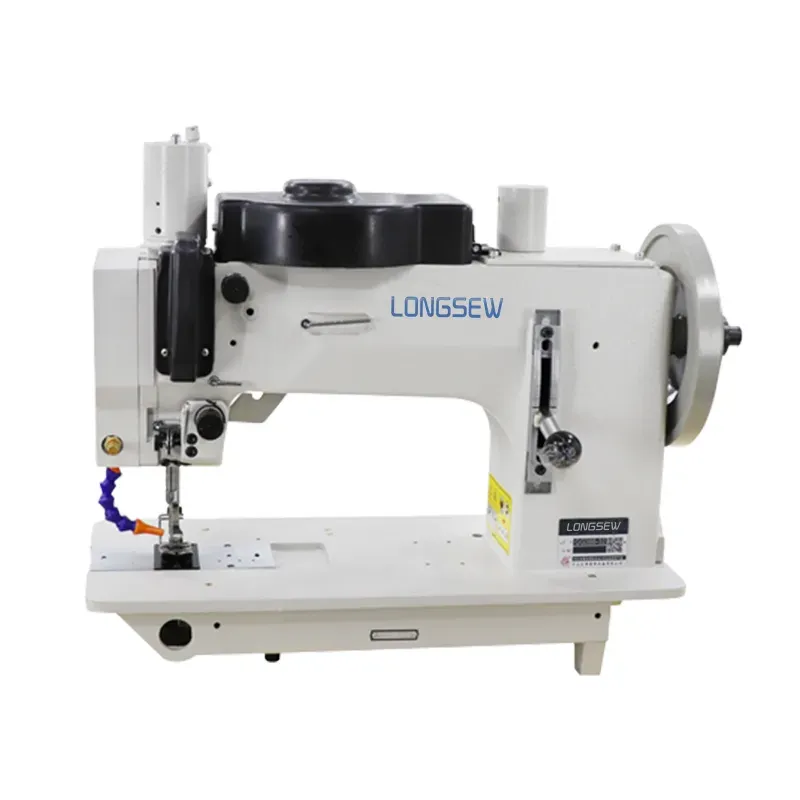
How to Replace a Needle on Your Sewing Machine Effectively
Changing a Needle on a Sewing Machine A Step-by-Step Guide
Sewing is a delightful craft that allows you to create beautiful garments, home decor, and more. However, one essential aspect that many beginners overlook is the maintenance of your sewing machine, particularly the needle. Knowing how to change a needle on a sewing machine is crucial for ensuring smooth and efficient sewing. A worn or damaged needle can cause skipped stitches, frayed fabric, and a less-than-perfect finish on your projects. Here’s a comprehensive guide to help you change your sewing machine needle easily and safely.
Why Change Your Needle?
Over time, sewing machine needles can wear out due to constant use, resulting in reduced performance. A damaged needle can lead to poor stitch quality, fabric snags, and even thread breaking. Different fabrics and projects may require different needle types and sizes; for instance, a needle designed for quilting will not work well for delicate fabrics. Regularly changing your needle based on your project’s needs is vital for achieving professional results.
Gather Your Supplies
Before you begin, make sure you have everything you need on hand 1. A new needle appropriate for your project (look for sizes like 70/10 for lightweight fabrics to 100/16 for heavy materials). 2. A screwdriver (if your sewing machine requires one to remove the needle). 3. A small container or magnetic tray to keep small parts safe.
Step-by-Step Instructions
1. Turn Off Your Machine Safety is paramount. Always unplug your sewing machine before performing any maintenance tasks.
2. Remove the Presser Foot If your sewing machine has a removable presser foot, take it off to give you easier access to the needle.
changing a needle on a sewing machine

3. Loosen the Needle Locate the needle clamp screw, which is usually found on the side of the needle holder. Use a screwdriver (if required) to loosen the screw, turning it counterclockwise until the needle is free.
4. Remove the Old Needle Gently pull the needle downwards and out of the needle holder. Take a moment to inspect the needle for any signs of damage, such as bending or dullness.
5. Insert the New Needle Take your new needle and ensure the flat side (the shank) is facing the correct direction. Most machines have a specific orientation, so consult your manual if unsure. Push the needle up into the needle holder as far as it will go.
6. Tighten the Needle Re-secure the needle by tightening the needle clamp screw. Ensure it is snug but avoid overtightening, which could damage the needle or machine.
7. Reattach the Presser Foot If you removed the presser foot, replace it now, ensuring it’s properly secured.
8. Test the Machine Turn on your sewing machine and do a test stitch on a scrap piece of fabric. This will help you ensure that the needle is properly installed and that stitches are forming correctly.
Conclusion
Changing the needle on your sewing machine is a simple yet essential task that will significantly improve your sewing experience. Taking the time to do it regularly will save you frustration and elevate the quality of your projects. With practice, you will become more comfortable and confident in maintaining your sewing machine, leading to more successful creations. Happy sewing!
-
Industrial Cylinder Arm Sewing Machine: Revolutionizing Heavy-Duty SewingNewsJul.28,2025
-
Cylinder Arm Sewing Machine: Perfect for Special Sewing ApplicationsNewsJul.28,2025
-
Cylinder Bed Sewing Machine: Essential for Sewing Complex MaterialsNewsJul.28,2025
-
Heavy Duty Sewing Machine: The Essential Tool for Industrial ApplicationsNewsJul.28,2025
-
Computerized Pattern Sewing Machine: Revolutionizing Precision StitchingNewsJul.28,2025
-
Heavy Duty Industrial Sewing Machine: Power Meets PrecisionNewsJul.28,2025
-
Leather Sewing Machine: The Industrial Standard for Tough MaterialsNewsJul.18,2025


