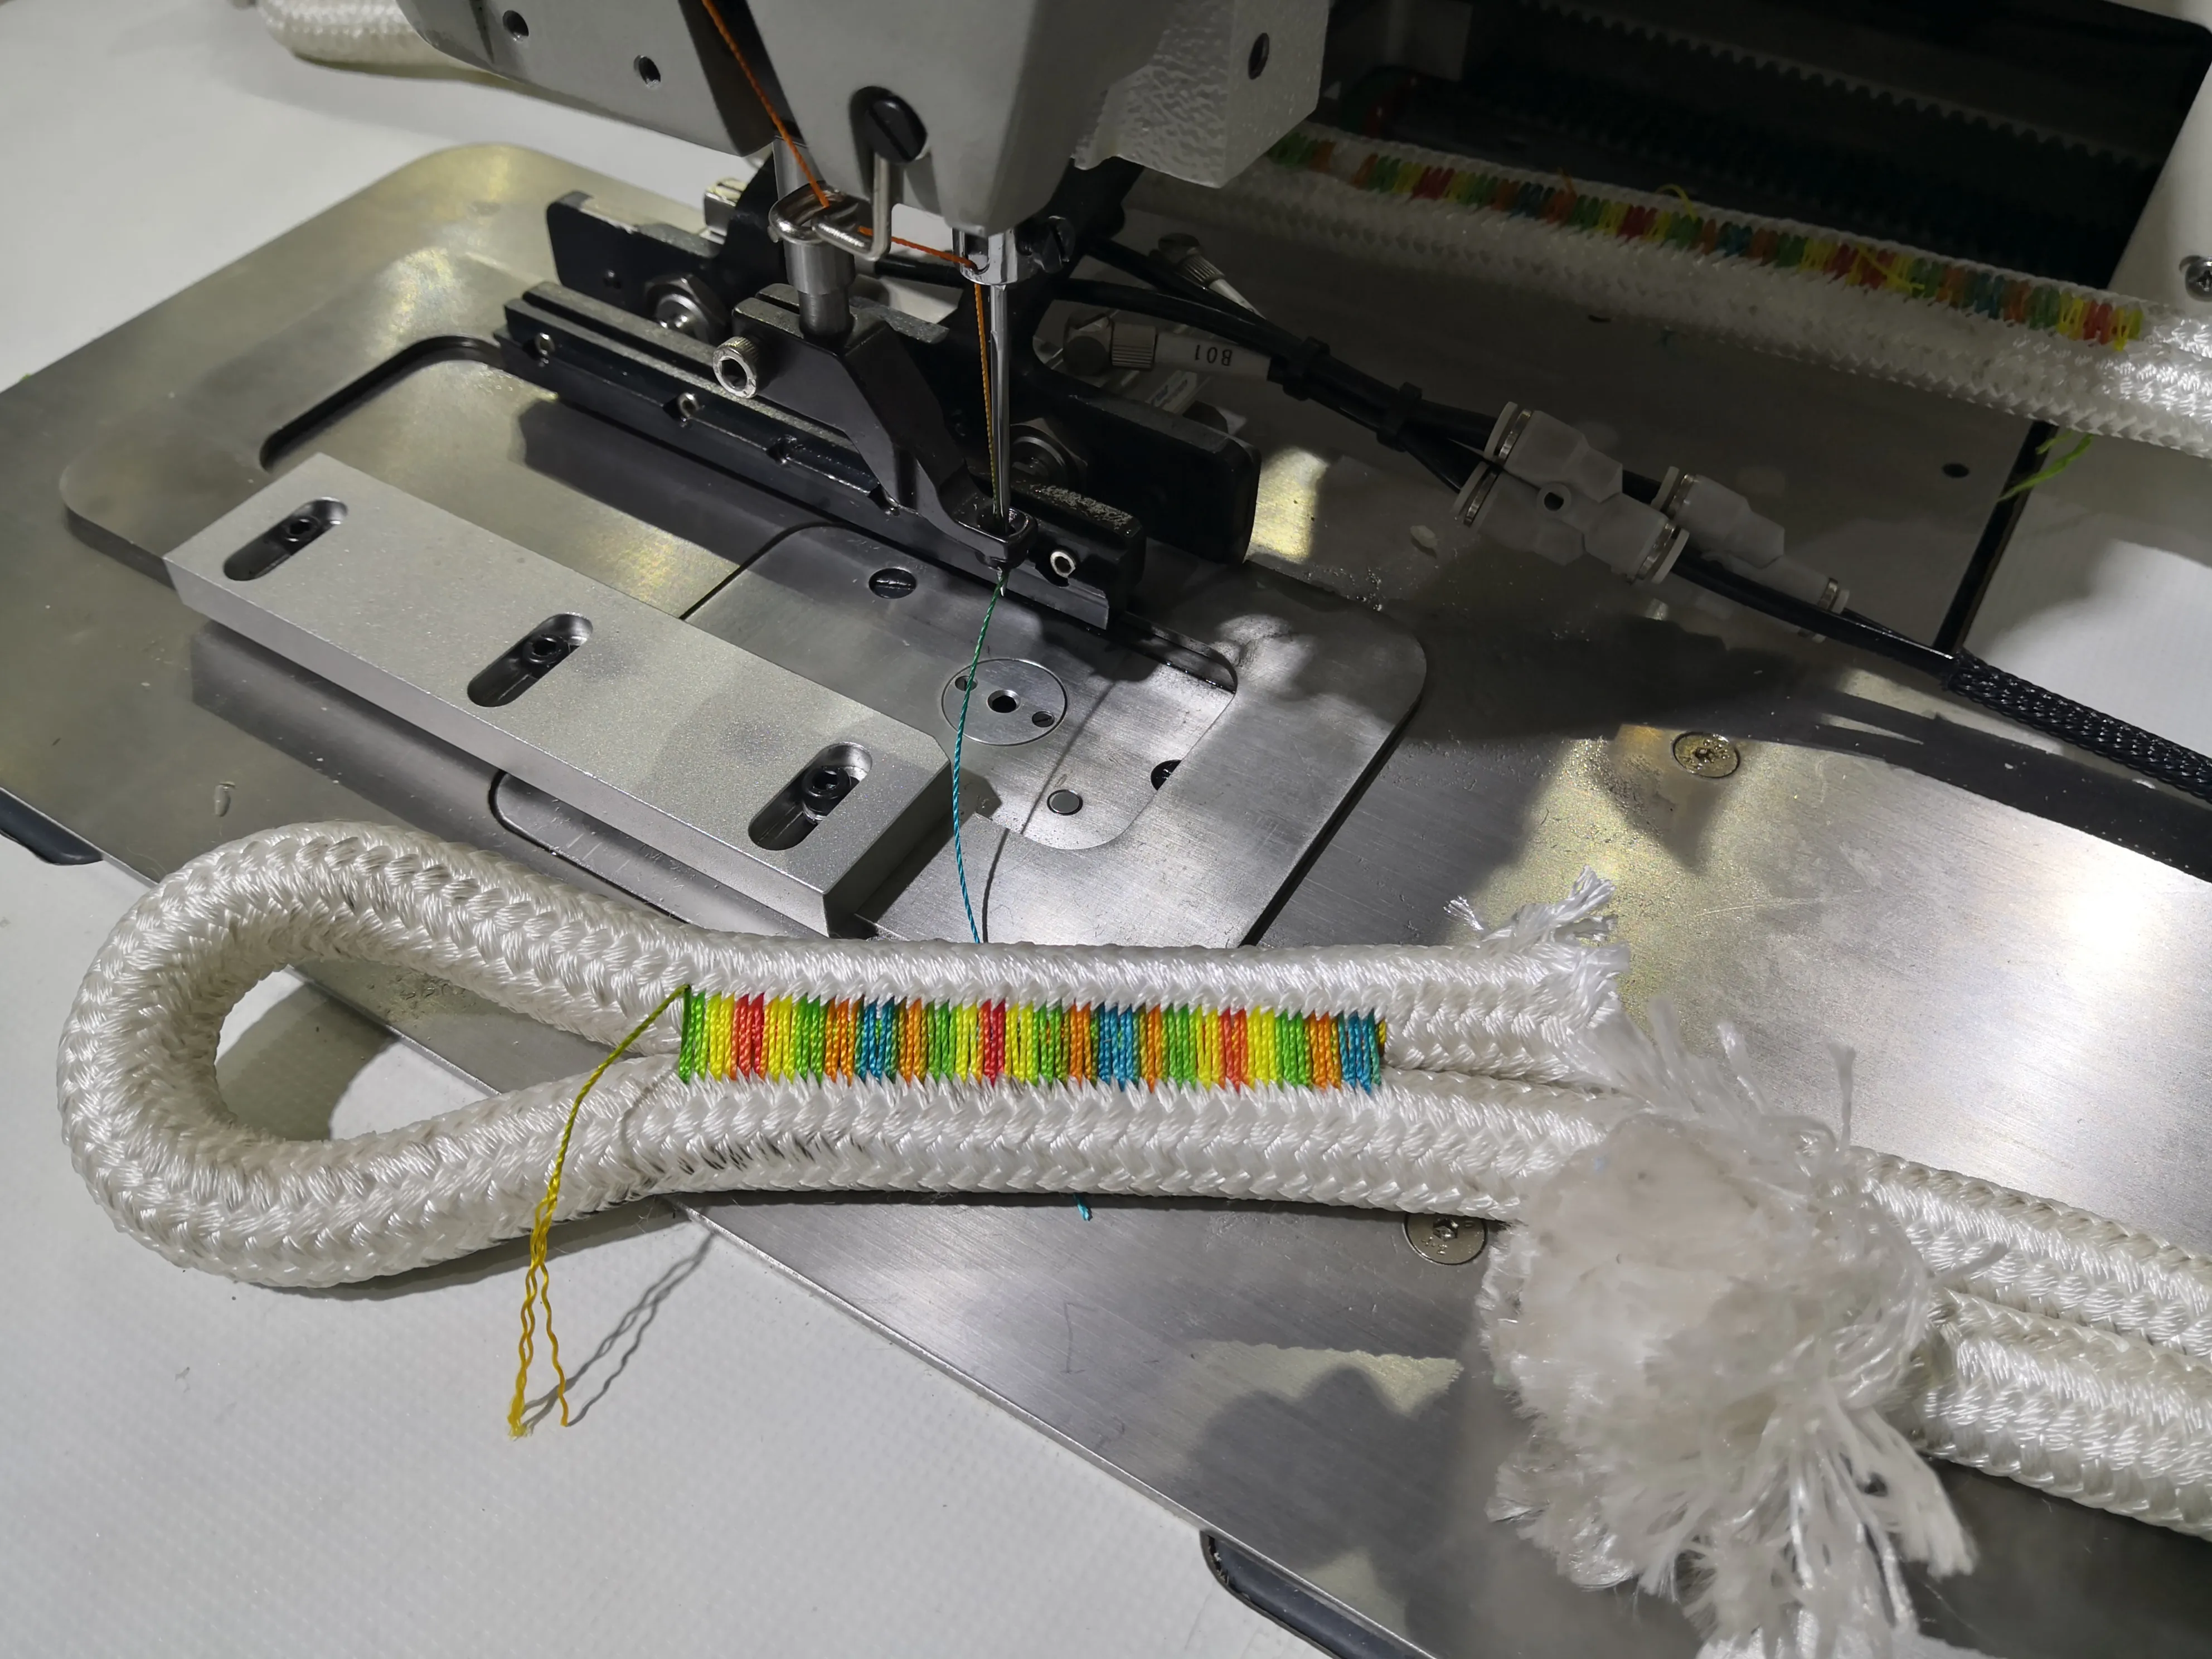
how to use the double needle in sewing machine
How to Use the Double Needle in a Sewing Machine
Sewing with a double needle can elevate your projects by adding a professional touch, especially when it comes to hemming or creating decorative stitches. While it may seem intimidating at first, mastering the double needle technique can open up a world of creative possibilities. Here’s a straightforward guide on how to use a double needle in your sewing machine.
What is a Double Needle?
A double needle is essentially two needles attached to a single shank, which allows you to sew two parallel lines of stitching simultaneously. This technique is commonly used for topstitching, creating pintucks, and finishing hems. Double needles come in various sizes and needle types, so it’s important to select the right one based on your project.
Preparing Your Sewing Machine
1. Choose the Right Needle Select a double needle suitable for your fabric. Common sizes are 2.0mm, 2.5mm, or 4.0mm apart, depending on how far apart you want your stitches.
2. Replace the Needle Turn off your sewing machine. Remove the existing needle and insert the double needle into the needle holder, ensuring it’s securely in place. Remember to thread the needle from the back to the front.
3. Configure the Machine If your sewing machine has a setting specifically for double needles, make sure to choose that. If not, adjust the stitch width so that it doesn’t exceed the space between the two needles to avoid breakage.
Threading the Machine
One of the key aspects of using a double needle is threading the machine correctly
how to use the double needle in sewing machine

1. Threading the Double Needle Use two spools of thread. Place one spool on the regular spool pin and the other on a secondary pin (if available) or a thread stand. Make sure to follow the path to the tension discs and guides for both threads.
2. Guide Each Thread Separately As you thread each needle, ensure that each thread takes its own path through the tension discs and guides. This will prevent tangling and ensure smooth stitching.
3. Check the Bobbin Make sure you're using a sturdy bobbin thread. A good quality thread will prevent breaking and ensure that your stitches appear uniform.
Sewing with a Double Needle
Once your machine is threaded, it’s time to start sewing
1. Test Stitches Before diving into your project, do a few test stitches on a scrap piece of fabric. This will help you adjust the tension and confirm that the needle is set properly.
2. Sewing Technique Start sewing slowly. Guide your fabric evenly through the machine, keeping the edges aligned. The double needle will create two parallel lines of stitching on top while one line of thread will form the bobbin stitch underneath.
3. Finishing Touches Once you’ve finished, trim any excess thread and press your seams. The double-needle stitching provides a beautifully finished look and strengthens the seam.
Conclusion
Using a double needle in your sewing machine is a great way to enhance your sewing projects. With proper setup and practice, this technique can add both aesthetic appeal and durability to your work. So, gather your materials, take your time, and enjoy the creative process!
-
Industrial Cylinder Arm Sewing Machine: Revolutionizing Heavy-Duty SewingNewsJul.28,2025
-
Cylinder Arm Sewing Machine: Perfect for Special Sewing ApplicationsNewsJul.28,2025
-
Cylinder Bed Sewing Machine: Essential for Sewing Complex MaterialsNewsJul.28,2025
-
Heavy Duty Sewing Machine: The Essential Tool for Industrial ApplicationsNewsJul.28,2025
-
Computerized Pattern Sewing Machine: Revolutionizing Precision StitchingNewsJul.28,2025
-
Heavy Duty Industrial Sewing Machine: Power Meets PrecisionNewsJul.28,2025
-
Leather Sewing Machine: The Industrial Standard for Tough MaterialsNewsJul.18,2025


