


10月 . 22, 2024 04:01
Back to list
Techniques for Efficient Binding Belt Sewing in Garment Production
The Art and Technique of Binding Belt Sewing
Binding belt sewing is an essential technique in garment construction and textile design. It involves the application of a binding or tape to the edges of belts, ensuring not only a polished appearance but also increased durability. This method is particularly crucial for fashion designers, tailors, and hobbyists who seek to create high-quality items that resonate with both aesthetic appeal and functional reliability.
Understanding Binding Belts
Before diving into the sewing techniques, it's essential to understand what a binding belt is. Typically, a belt serves as an accessory to hold up clothing, but it can also play a crucial role in outfit styling. The binding is a strip of fabric or material that encases the edges of the belt, providing a clean finish and preventing fraying. The choice of binding material—whether it be fabric, leather, or synthetic—depends largely on the intended use and character of the belt.
Materials Needed
To effectively sew a binding belt, you'll need a few key materials 1. Belt Material This can be leather, fabric, or any sturdy material. 2. Binding Tape Ideally, this should match or complement the belt material in color and texture. 3. Sewing Machine A standard home sewing machine will suffice, but ensure it can handle thicker materials if you're using leather. 4. Thread Choose a strong thread that matches your fabric for a seamless look. 5. Scissors and Pins For cutting and securing materials during sewing. 6. Measuring Tape Accurate measurements are critical for a good fit and finish.
Step-by-Step Process
1. Preparation Start by measuring and cutting your belt material to the desired length. Remember to account for overlaps and adjustments. Next, cut your binding. The binding should be slightly longer than the belt to ensure full coverage.
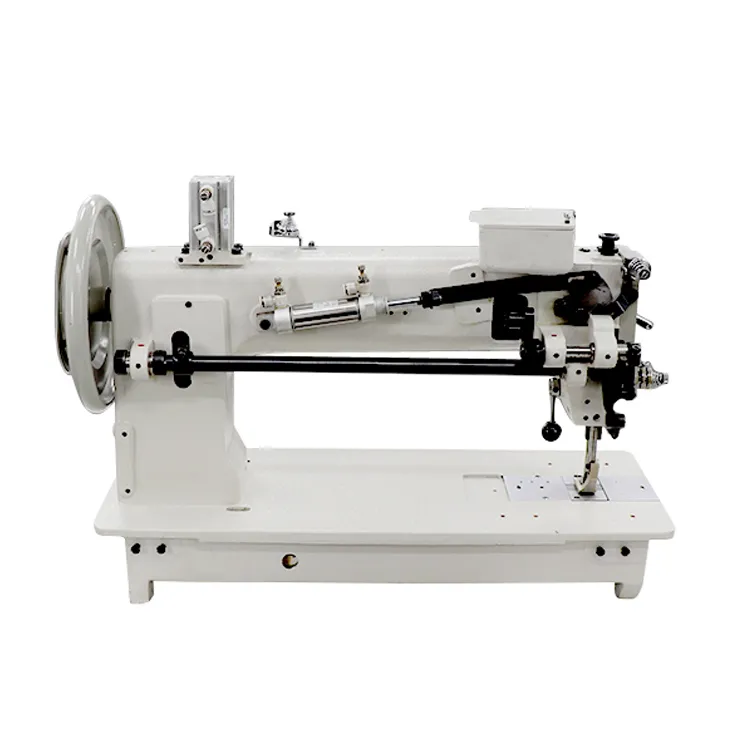
binding belt sewing
2. Attaching the Binding Lay the binding tape on the edge of the belt, aligning it evenly. Pin it in place to prevent it from shifting as you sew. A common method is to place the binding on the right side of the belt, folding it over to the back side.
3. Sewing Using a straight stitch or zigzag stitch, sew along the edge of the binding, ensuring that you catch both the binding and the belt material. If you’re working with bulkier materials like leather, adjust your sewing machine settings accordingly to accommodate the thickness.
4. Finishing Touches Once you’ve sewn the binding along the entire length of the belt, trim any excess binding that may extend beyond the belt edge. If desired, topstitch along the binding for added strength and style. Topstitching also provides a decorative finish that enhances the overall look of the belt.
5. Final Inspection Lastly, check for any loose threads or uneven areas. It’s important that the binding is securely attached and that the belt sits comfortably when worn.
Conclusion
Binding belt sewing is a fundamental skill that enhances the quality of finished garments and accessories. While the process may seem intricate, with practice and attention to detail, anyone can master the technique. Not only does it elevate the aesthetics of a belt, but it also ensures longevity in wear, making every handmade sewing project a joy to behold and use.
In summary, whether you're a seasoned crafter or a beginner, learning how to sew binding on belts can significantly impact your sewing projects. With creativity and skill development, the potential for unique and stylish belt designs is limitless. Happy sewing!
Latest news
-
Revolutionizing Sewing with CNC TechnologyNewsMar.28,2025
-
Revolutionizing Efficiency with Automatic Sewing MachinesNewsMar.28,2025
-
Mastering Precision with Sewing Machines and ToolsNewsMar.28,2025
-
Mastering Precision with Double Needle and Chain Stitch Sewing MachinesNewsMar.28,2025
-
Leather Sewing Machines for Every NeedNewsMar.28,2025
-
Find the Best Deals on the Adler 205 370 Sewing MachineNewsMar.28,2025
-
The Essential Guide to Overlock Sewing MachinesNewsMar.18,2025

Hebei LongSew Machinery Technology Co. Ltd is beginning as sewing machine parts supplier, now Longsew have over twenty years experience in complete set sewing machine offering.


CLASSIFICATION
CONTACT US
-

No.368 North Youyi Street, Shijiazhuang City, Hebei Province, China
-

-

Copyright © 2025 HEBEI LONGSEW MACHINERY TECHNOLOGY CO. LTD All Rights Reserved. Sitemap | Privacy Policy