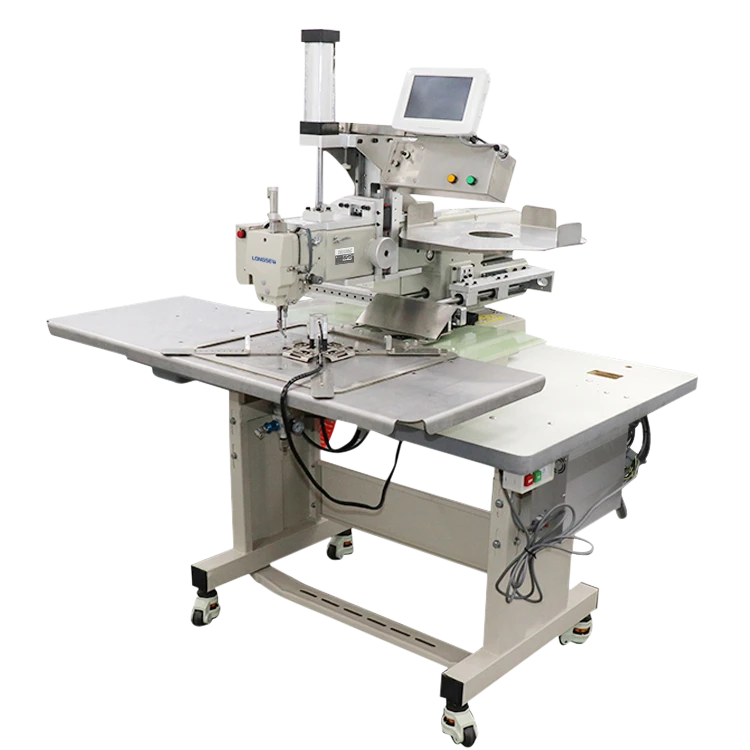
leather upholstery sew
The Art of Sewing Leather Upholstery A Comprehensive Guide
Leather upholstery is a timeless choice for both home and automotive interiors, providing elegance, durability, and comfort. However, sewing leather is a specialized skill that requires attention to detail, patience, and the right tools. In this article, we will explore the intricacies of leather upholstery sewing, covering materials, techniques, and tips to achieve professional results.
Choosing the Right Leather
Before you begin sewing, it is crucial to choose the right type of leather for your upholstery project. There are various types of leather, such as full-grain, top-grain, corrected-grain, and bonded leather, each with different properties. Full-grain leather is the most durable and retains the natural surface, making it ideal for high-end upholstery. Top-grain leather is slightly less durable but offers a smoother finish for those seeking a refined look.
Additionally, consider the thickness of the leather. Upholstery leather typically ranges from 1.0 to 2.0 mm in thickness. Thicker leather is more challenging to sew, so ensure your sewing machine can handle the material you choose.
Essential Tools and Supplies
To successfully sew leather upholstery, you will need specific tools
1. Sewing Machine A heavy-duty sewing machine is necessary for sewing through thick leather. Look for machines that offer walking feet or roller feet, as they help move the leather smoothly without sticking.
2. Needles Use leather needles, which have a wedge-shaped point to pierce through the material cleanly. Depending on the thickness of your leather, you may need different needle sizes.
3. Thread Polyester or nylon thread is recommended for leather upholstery due to its strength and durability. Ensure the thread is thicker than regular sewing thread to withstand tension.
4. Cutting Tools A rotary cutter or a sharp utility knife is essential for cutting leather without fraying the edges. Scissors may not provide the clean cut necessary for a professional finish.
leather upholstery sew

5. Clips and Pins Use clips instead of pins to hold leather pieces together, as traditional pins can leave holes or create pressure points that are difficult to remove.
Sewing Techniques
Sewing leather upholstery involves several techniques that ensure a polished final product
1. Preparation Always pre-cut your leather pieces, incorporating seam allowances into your measurements. A rotary mat is helpful for making accurate cuts.
2. Marking Use tailor's chalk or a water-soluble fabric marker to make markings on the leather. Avoid using pens or pencil, as they can stain the material.
3. Sewing Start with a straight stitch for most upholstery seams. Use a longer stitch length (around 3-4 mm) to prevent perforating the leather. If your machine allows, consider using a zigzag stitch for added flexibility in seams.
4. Finishing After sewing, trim excess leather and ensure all seams are aligned. You can use leather cement to secure any loose edges before final assembly.
5. Care Once your leather upholstery is complete, regular maintenance is necessary. Clean with a damp cloth and apply a leather conditioner to keep it supple and prevent cracking.
Conclusion
Sewing leather upholstery is an art that requires practice, skill, and the right tools. By understanding the materials, utilizing proper techniques, and paying attention to detail, you can create stunning leather furnishings that enhance any space. Whether you're restoring a vintage chair or customizing the interior of your car, the results will speak for themselves, offering a blend of functionality and luxury that only leather can provide. Embrace the challenge and enjoy the craftsmanship that comes with this rewarding undertaking.
-
Heavy Duty Leather Sewing Machine: A Must-Have for Professional LeatherworkNewsMay.28,2025
-
Leather Sewing Machine: Essential for High-Quality LeathercraftNewsMay.28,2025
-
Extra Heavy Duty Sewing Machine for Premium Leather ApplicationsNewsMay.28,2025
-
Walking Foot Cylinder Arm Sewing Machine: Precision and Power CombinedNewsMay.28,2025
-
Industrial Cylinder Arm Sewing Machine: Engineered for High-Performance StitchingNewsMay.28,2025
-
Cylinder Bed Sewing Machine: A Powerful Solution for Precision StitchingNewsMay.28,2025
-
Zigzag Sewing MachineNewsMay.12,2025


