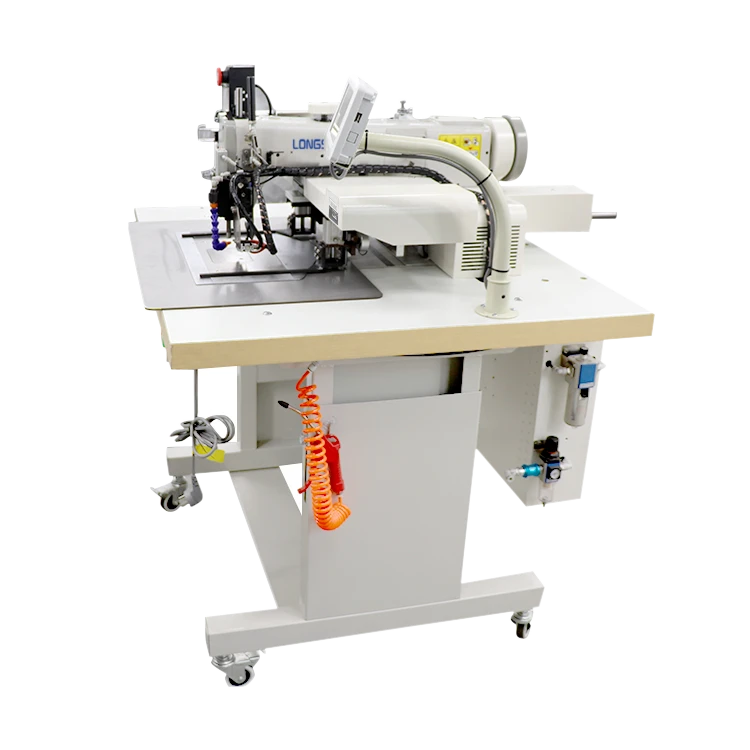
how to use a twin needle on a sewing machine
Using a twin needle on a sewing machine can elevate your sewing projects, providing a professional finish that resembles what you might find in store-bought garments. Twin needles are particularly useful for hems, decorative stitching, and adding stretch to fabrics. Here’s a comprehensive guide on how to use a twin needle effectively.
What is a Twin Needle?
A twin needle is a sewing needle that has two needles attached to a single shank. These needles are available in various sizes and types, such as ballpoint or universal, allowing you to choose the right one based on your fabric. The most common size for general sewing is 80/12, but thicker fabrics may require a larger size.
Preparing Your Sewing Machine
Before you start, ensure that your sewing machine is compatible with twin needles. Most modern machines are designed to accommodate them, but consult your manual if you're unsure. Follow these steps to prepare your machine
1. Remove the Regular Needle Start by turning off your machine for safety. Remove the existing needle by loosening the needle clamp screw and pulling it out.
2. Insert the Twin Needle Take your twin needle and insert it into the needle holder. Make sure the flat side of the needle shank is facing the back. Tighten the needle clamp screw securely.
3. Adjust Your Threading Unlike standard single needle sewing, using a twin needle requires special threading. You’ll need two spools of thread. Place one spool on the regular spool pin and use a second spool or a thread guide to prevent tangling. Some machines have a dual spool pin accessory, making this step easier.
4. Thread the Machine Thread your machine as usual, but when it comes to the needle, thread each needle separately. Make sure both threads go through their respective needle eyes. The left needle usually creates the decorative stitch, while the right needle acts as a guide.
how to use a twin needle on a sewing machine

Choosing the Right Stitch
With your twin needle properly threaded, it's time to choose your stitch. A zigzag stitch is great for knits, while a straight stitch offers a more polished finish for woven fabrics. For decorative purposes, consider using a decorative stitch function if your machine has one.
Testing Your Stitch
Before starting on your actual project, always test your stitch on a scrap piece of fabric. This testing phase allows you to make any necessary adjustments, such as stitch width and length. Ensure that both threads are feeding evenly and that the fabric doesn’t pucker.
Sewing with a Twin Needle
Now you’re ready to start sewing. Keep the following tips in mind
- Sew Slow Twin needles can make your sewing machine run at a different speed. It’s better to sew slowly to avoid misalignment or skipped stitches. - Use Stabilizers For lightweight or stretchy fabrics, consider using stabilizers to prevent puckering and to achieve that clean finish. - Pay Attention to Tension If you encounter any threading issues, adjust the tension accordingly. Too much tension can cause thread breakage and uneven stitches.
Conclusion
Using a twin needle can enhance your sewing capabilities tremendously. With the right setup and techniques, you can create beautiful hems and decorative finishes that will impress everyone. Enjoy experimenting with different threads and fabrics, and embrace the creativity that twin needles bring to your sewing projects!
-
Industrial Cylinder Arm Sewing Machine: Revolutionizing Heavy-Duty SewingNewsJul.28,2025
-
Cylinder Arm Sewing Machine: Perfect for Special Sewing ApplicationsNewsJul.28,2025
-
Cylinder Bed Sewing Machine: Essential for Sewing Complex MaterialsNewsJul.28,2025
-
Heavy Duty Sewing Machine: The Essential Tool for Industrial ApplicationsNewsJul.28,2025
-
Computerized Pattern Sewing Machine: Revolutionizing Precision StitchingNewsJul.28,2025
-
Heavy Duty Industrial Sewing Machine: Power Meets PrecisionNewsJul.28,2025
-
Leather Sewing Machine: The Industrial Standard for Tough MaterialsNewsJul.18,2025


