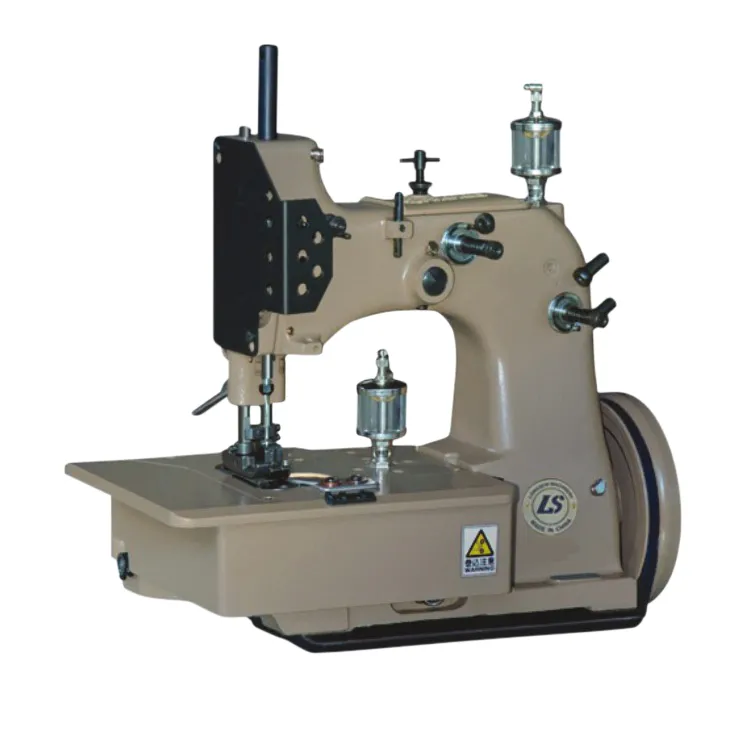
How to Replace the Needle on Your Sewing Machine Effortlessly
Changing a Needle on a Sewing Machine A Step-by-Step Guide
Sewing machines are indispensable tools for both hobbyists and professionals alike, allowing for the creation of a wide variety of textile projects. However, like all tools, sewing machines require regular maintenance to function properly. One of the most essential maintenance tasks is changing the needle. A dull or damaged needle can lead to subpar stitches, fabric snags, and extended sewing time. This guide will provide a detailed step-by-step process for changing a needle on a sewing machine, ensuring you can tackle your next project with confidence.
Why Change the Needle?
Over time, sewing machine needles can become dull, bent, or even break. A damaged needle not only affects the quality of your sewing but can also damage your fabric. Different types of needles are designed for various fabrics and purposes, so using the right needle can significantly improve your sewing experience. It's generally recommended to change the needle after every project or after working with heavy or thick materials.
Tools Needed
Before you begin, make sure you have the following
1. A new needle compatible with your sewing machine 2. A screwdriver (usually provided with your machine) 3. Small scissors or snips (optional)
Step-by-Step Instructions
1. Turn Off the Machine Safety first! Always ensure your sewing machine is turned off before making any adjustments. This prevents accidental starts while you are handling the needle.
changing a needle on a sewing machine

2. Raise the Needle Use the hand wheel located on the side of the machine to raise the needle to its highest position. This makes it easier to remove and replace the needle.
3. Remove the Old Needle Locate the needle clamp screw—this is usually found at the bottom of the needle holder. Using your screwdriver, loosen the needle clamp screw by turning it counterclockwise. Once it is loose, grasp the needle and gently pull it out of the needle holder. If the needle doesn't come out easily, ensure the screw is sufficiently loosened.
4. Choose the Right Needle Select a new needle that suits your fabric. Common needle types include universal, ballpoint, and quilting needles. Make sure the needle size matches the thickness of your fabric. For thicker fabrics, a larger needle is advisable, while finer fabrics require a smaller needle.
5. Insert the New Needle With the flat side of the needle facing the back of the machine, insert the new needle into the needle holder. Push it all the way up until it cannot go any further. Be careful to align it properly, as incorrect insertion can lead to issues when sewing.
6. Secure the Needle Once the new needle is in place, tighten the needle clamp screw by turning it clockwise. Make sure it is secure, but avoid over-tightening, which can cause damage to the needle or machine.
7. Check Alignment Turn the hand wheel to lower the needle and check its alignment with the presser foot. It should move smoothly without any obstruction.
8. Test Your Sewing Machine Before diving into your next project, test out your sewing machine on a scrap piece of fabric. This will help ensure that the new needle is functioning properly and that the tension settings are correct.
Conclusion
Changing the needle on a sewing machine is a quick and easy process that can significantly enhance your sewing experience. Regular needle changes can help you achieve cleaner stitches, avoid fabric damage, and save time. By following these steps, you can ensure that your machine is always ready for your next creative endeavor. Remember, the right tool for the job includes not only the machine itself but also the correct needle. Happy sewing!
-
Industrial Cylinder Arm Sewing Machine: Revolutionizing Heavy-Duty SewingNewsJul.28,2025
-
Cylinder Arm Sewing Machine: Perfect for Special Sewing ApplicationsNewsJul.28,2025
-
Cylinder Bed Sewing Machine: Essential for Sewing Complex MaterialsNewsJul.28,2025
-
Heavy Duty Sewing Machine: The Essential Tool for Industrial ApplicationsNewsJul.28,2025
-
Computerized Pattern Sewing Machine: Revolutionizing Precision StitchingNewsJul.28,2025
-
Heavy Duty Industrial Sewing Machine: Power Meets PrecisionNewsJul.28,2025
-
Leather Sewing Machine: The Industrial Standard for Tough MaterialsNewsJul.18,2025


