Tips for Sewing Leather with a Sewing Machine Successfully
Sewing Leather on a Sewing Machine Tips and Techniques
Sewing leather can be a rewarding yet challenging endeavor. Whether you're creating custom bags, jackets, or accessories, understanding how to work with leather on a sewing machine is essential for achieving professional-quality results. This article will guide you through the basics of sewing leather, including the tools you need, techniques to master, and tips to ensure a successful project.
Choosing the Right Sewing Machine
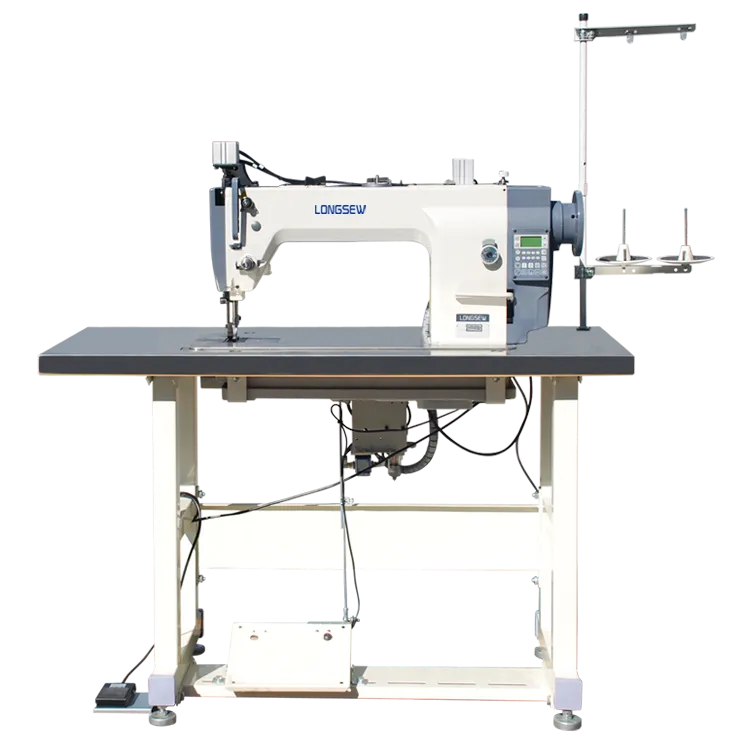
Not all sewing machines are suited for leather. If you plan to sew thicker materials regularly, investing in a heavy-duty sewing machine or an industrial model is advisable. Look for machines that feature a strong motor and a walking foot, which helps feed multiple layers of leather evenly. Brands like Singer, Juki, and Brother offer models specifically designed for leather work.
Essential Tools and Materials
In addition to a suitable sewing machine, you'll need several tools and materials
1. Sewing Needles Use leather needles that have a wedge-shaped point, designed to penetrate the material without causing damage. A size 90/14 or 100/16 needle is often appropriate for most leather projects.
2. Thread Opt for polyester or nylon thread as they are strong and durable. Avoid cotton thread, as it tends to break under stress.
3. Walking Foot As mentioned earlier, a walking foot is crucial for preventing leather from shifting as you sew. This attachment helps to grip the leather while moving it through the machine.
4. Cutting Tools Use a rotary cutter and cutting mat or sharp scissors for precise cuts. A leather punch may also be useful for creating holes for stitching.
sew leather on sewing machine

5. Adhesives Leather cement or double-sided tape can help hold your pieces together before sewing, ensuring accurate alignment.
Preparing Your Leather
Before sewing, it’s important to prepare your leather properly. Cut your leather pieces with clean, straight edges. If your project involves multiple pieces, consider practicing on scrap leather first to refine your technique and make any necessary adjustments. Mark your stitching lines with tailor’s chalk or a water-soluble pen, but be careful not to apply marks that you cannot remove.
Sewing Techniques
1. Test Stitching Always perform a test stitch on a scrap piece of leather. This allows you to adjust the tension and stitch length (a longer stitch is often preferred for leather) for the best results.
2. Sewing Slowly When sewing leather, take your time. Slow, controlled stitching helps prevent mistakes and allows for better handling of the material.
3. Backstitching Remember to backstitch at the beginning and end of your seams to secure the threads. This is particularly important in leather projects, where seams are often under additional stress.
4. Edge Finishing For a polished look, finish the edges of your leather. You can burnish the edges with a bone folder or edge finishing tool. This not only enhances the aesthetic but also prevents fraying.
Conclusion
Sewing leather on a sewing machine can be a fulfilling experience when armed with the right tools and knowledge. By choosing the appropriate machine, utilizing specialized tools, and mastering the sewing techniques outlined above, you can create beautiful, high-quality leather goods that will last for years. Enjoy your crafting journey, and don't hesitate to experiment as you find your unique style in leatherwork!
-
Industrial Cylinder Arm Sewing Machine: Revolutionizing Heavy-Duty SewingNewsJul.28,2025
-
Cylinder Arm Sewing Machine: Perfect for Special Sewing ApplicationsNewsJul.28,2025
-
Cylinder Bed Sewing Machine: Essential for Sewing Complex MaterialsNewsJul.28,2025
-
Heavy Duty Sewing Machine: The Essential Tool for Industrial ApplicationsNewsJul.28,2025
-
Computerized Pattern Sewing Machine: Revolutionizing Precision StitchingNewsJul.28,2025
-
Heavy Duty Industrial Sewing Machine: Power Meets PrecisionNewsJul.28,2025
-
Leather Sewing Machine: The Industrial Standard for Tough MaterialsNewsJul.18,2025


