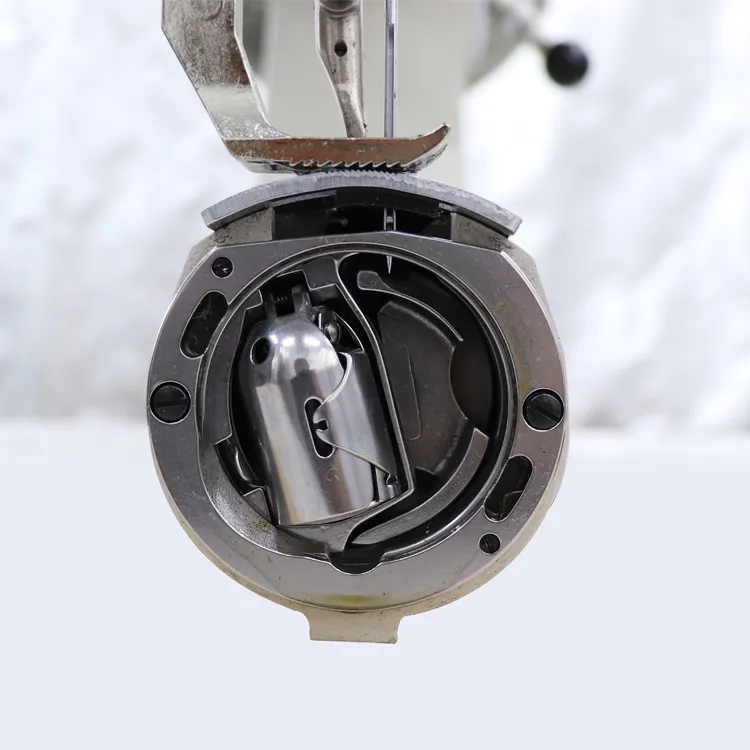
Sewing Leather with a Regular Sewing Machine
Sewing leather with a regular sewing machine can be a rewarding yet challenging endeavor. Many people assume that sewing leather requires specialized tools and equipment, but with some understanding of the materials, techniques, and some modifications, you can create beautiful leather projects using a standard sewing machine.
Firstly, it is important to understand the type of leather you are working with. Leather varies greatly in thickness, texture, and flexibility. For beginners, it is advisable to start with softer, thinner leathers, such as suede or lambskin, as they are easier to manipulate and sew. More rigid leathers, like full-grain or vegetable-tanned leather, require more skill and possibly special needles and feet.
When you're ready to sew, it's essential to equip your sewing machine properly. A leather needle, specifically designed to pierce through tougher materials, is a must. These needles have a wedge-shaped point that helps avoid tearing the leather. Additionally, using a heavier thread, such as polyester or nylon, will strengthen the seams. Regular cotton thread may not hold up well under tension.
Next, consider the presser foot. A walking foot can be advantageous when sewing leather as it helps feed the material evenly through the machine, preventing slipping or puckering. If you don’t have a walking foot, a Teflon or roller foot can also work well since these attachments glide over the surface of the leather, making it easier to sew.
Before starting your project, always test on a scrap piece of leather. This will help you adjust the tension and stitch length, ensuring that you achieve the desired outcome on your final piece. A longer stitch length (around 3.5 to 4 mm) is generally recommended for leather, as it allows the material to move more freely and helps avoid perforation.
sewing leather with a regular sewing machine

When cutting leather, use a sharp rotary cutter or a utility knife for clean, straight edges. It’s vital to use a cutting mat to protect the surface beneath and ensure clean cuts. Mark your patterns lightly on the leather with a water-soluble marker to avoid permanent marks.
As you sew, be mindful of the thickness of the leather layers you’re stitching together. Sewing over multiple layers may cause the machine to struggle, so consider using a seam allowance that allows for easy maneuverability. If necessary, use a hammer or roller to flatten seams and help guide the material through the machine.
Finishing your leather project is just as crucial as the sewing process. Trim any excess threads and consider applying a leather conditioner to maintain and nourish the leather. Edges can be burnished to create a polished look, and applying an edge sealant can prevent fraying.
In conclusion, while sewing leather on a regular sewing machine might present some challenges, it is undoubtedly possible with the right tools, techniques, and a bit of practice. By starting with manageable materials, optimizing your machine, and taking the time to master the process, you can create stunning leather pieces that showcase your creativity and craftsmanship. Whether making bags, wallets, or home decor, sewing leather can transform your DIY skills into beautiful, functional art.
-
Industrial Cylinder Arm Sewing Machine: Revolutionizing Heavy-Duty SewingNewsJul.28,2025
-
Cylinder Arm Sewing Machine: Perfect for Special Sewing ApplicationsNewsJul.28,2025
-
Cylinder Bed Sewing Machine: Essential for Sewing Complex MaterialsNewsJul.28,2025
-
Heavy Duty Sewing Machine: The Essential Tool for Industrial ApplicationsNewsJul.28,2025
-
Computerized Pattern Sewing Machine: Revolutionizing Precision StitchingNewsJul.28,2025
-
Heavy Duty Industrial Sewing Machine: Power Meets PrecisionNewsJul.28,2025
-
Leather Sewing Machine: The Industrial Standard for Tough MaterialsNewsJul.18,2025


