


снеж . 22, 2024 05:31
Back to list
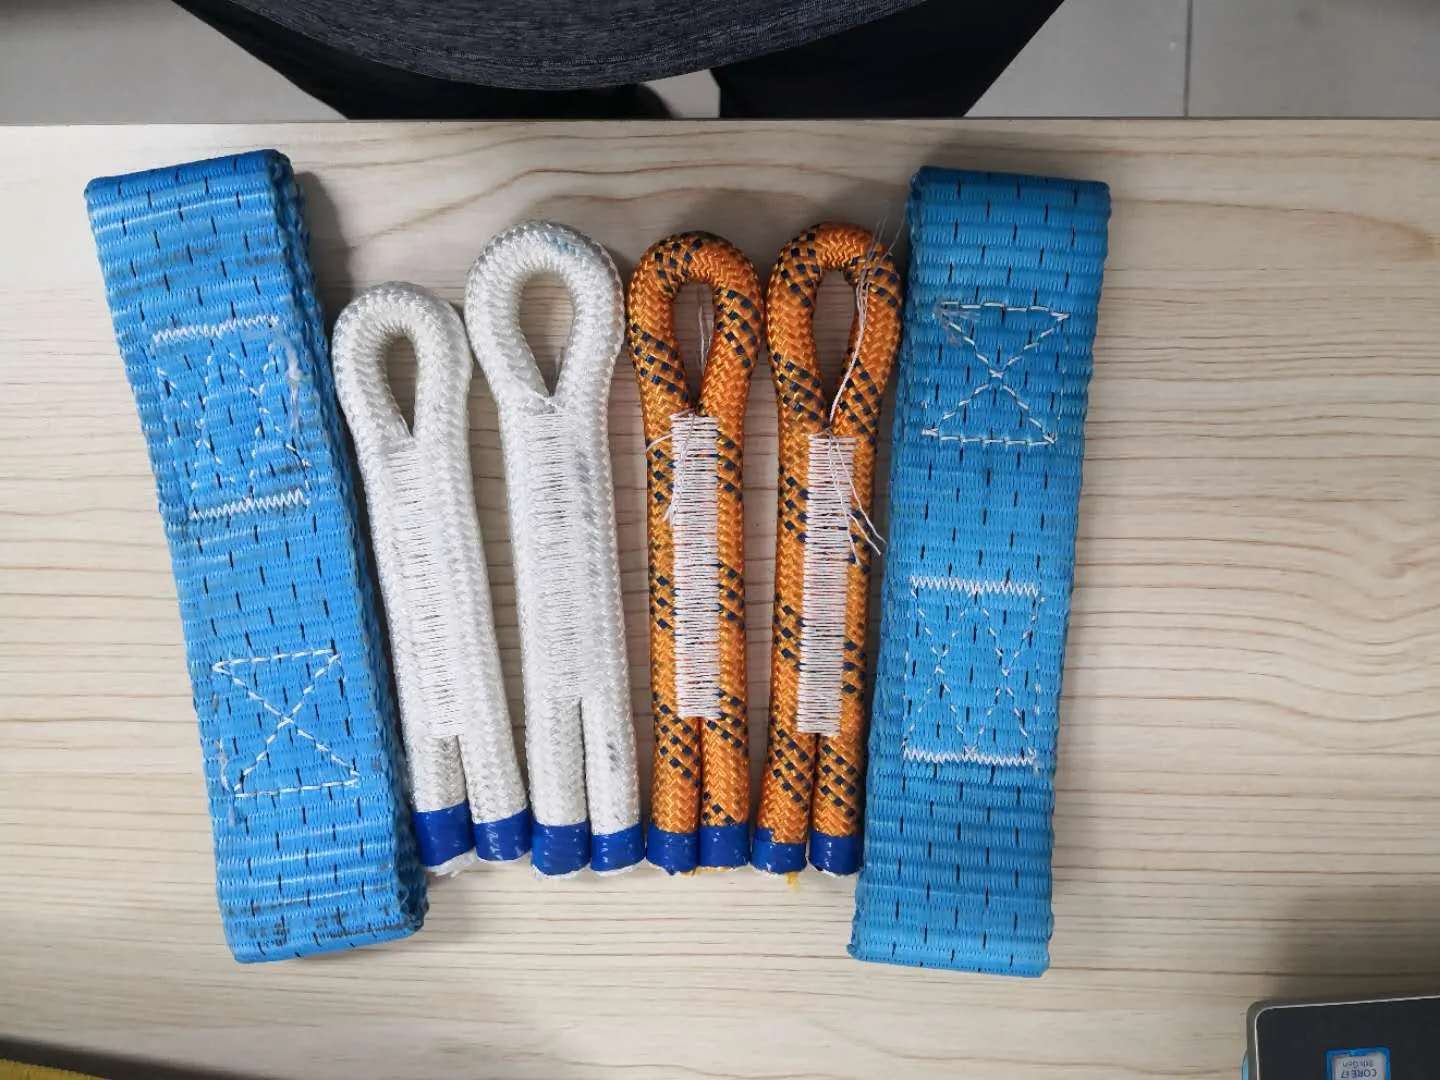
zig zag hem stitch
Zig-Zag Hem Stitch A Comprehensive Guide
When it comes to sewing, the hem is one of the most crucial elements that can make or break a project. Among the various techniques available, the zig-zag hem stitch stands out for its versatility and practicality. Understanding how to utilize the zig-zag hem stitch can elevate your sewing skills and ensure your fabrics are both durable and visually appealing.
What is a Zig-Zag Hem Stitch?
The zig-zag hem stitch is a type of stitch that forms a series of zig-zag patterns along the edge of the fabric. This technique serves two primary purposes it prevents fraying of the fabric edges and provides a finished look to hems. The zig-zag stitch is commonly used on knit and stretch fabrics, but it can also be applied to woven materials for added durability.
Why Choose a Zig-Zag Hem Stitch?
1. Flexibility The zig-zag stitch allows for flexibility in fabrics that stretch. Unlike a straight stitch, which can break when the fabric is pulled, the zig-zag stitch can accommodate movement without compromising the integrity of the seam.
2. Ease of Use Learning to sew a zig-zag hem stitch is relatively simple. Most modern sewing machines come with a zig-zag stitch setting, allowing you to adjust the width and length of the stitch to suit your needs.
3. Preventing Fraying One of the most significant advantages of this stitch is its ability to prevent edges from fraying. This is particularly important for fabrics that are prone to unraveling, such as knits and lightweight materials.
How to Sew a Zig-Zag Hem Stitch
If you're new to sewing or want to improve your technique, follow these steps to create a zig-zag hem
1. Prepare Your Fabric First, determine the desired length of your hem. Fold the edge of the fabric over to the inside at the desired length and press it with an iron. This will create a clean edge for your hem.
zig zag hem stitch
2. Set Up Your Machine Refer to your sewing machine manual to select the zig-zag stitch. Choose an appropriate stitch width and length. A medium width and length usually work well for most fabrics, but you can adjust according to your preference.
3. Pin the Hem Use sewing pins to hold the hem in place. Make sure the folded edge is even throughout the length of the hem.
4. Sew the Hem Start sewing a few inches from the edge and follow the folded hemline. Keep the raw edge of the fabric aligned with the center of the zig-zag stitch. This allows the stitch to catch both the folded edge and the raw edge, securing it in place.
5. Finish Your Hem Once you reach the end of the hem, reinforce your stitches by backstitching a few stitches. Trim any excess fabric if necessary, and remove the pins. Press the hem flat with an iron for a professional finish.
Tips for a Perfect Zig-Zag Hem Stitch
- Choosing the Right Thread Use a polyester or cotton thread that matches your fabric. A thread that is too thick can create bulky seams, while thread that is too thin may not provide enough strength.
- Practice on Scrap Fabric Before working on your actual project, practice the zig-zag hem stitch on a scrap piece of fabric. This will help you adjust the stitch settings and get a feel for the technique.
- Experiment with Stitch Settings Depending on the fabric type, don’t hesitate to play around with the width and length of your zig-zag stitch. A narrower stitch can create a more delicate hem, while a wider stitch provides extra strength.
Conclusion
The zig-zag hem stitch is an invaluable technique for both novice and experienced sewists. It offers a combination of flexibility, durability, and a polished finish, making it ideal for a wide range of fabrics. By mastering this essential skill, you can ensure your sewing projects stand the test of time while looking beautifully finished.
Previous:
Latest news
-
Zigzag Sewing MachineNewsMay.12,2025
-
Single Needle Sewing MachineNewsMay.12,2025
-
Overlock Sewing Machine PriceNewsMay.12,2025
-
Heavy Duty Industrial Sewing MachineNewsMay.12,2025
-
FIBC Sewing MachineNewsMay.12,2025
-
Cylinder Bed Sewing MachineNewsMay.12,2025
-
Revolutionizing Sewing with CNC TechnologyNewsMar.28,2025

Hebei LongSew Machinery Technology Co. Ltd is beginning as sewing machine parts supplier, now Longsew have over twenty years experience in complete set sewing machine offering.


CLASSIFICATION
CONTACT US
-

No.368 North Youyi Street, Shijiazhuang City, Hebei Province, China
-

-

Copyright © 2025 HEBEI LONGSEW MACHINERY TECHNOLOGY CO. LTD All Rights Reserved. Sitemap | Privacy Policy